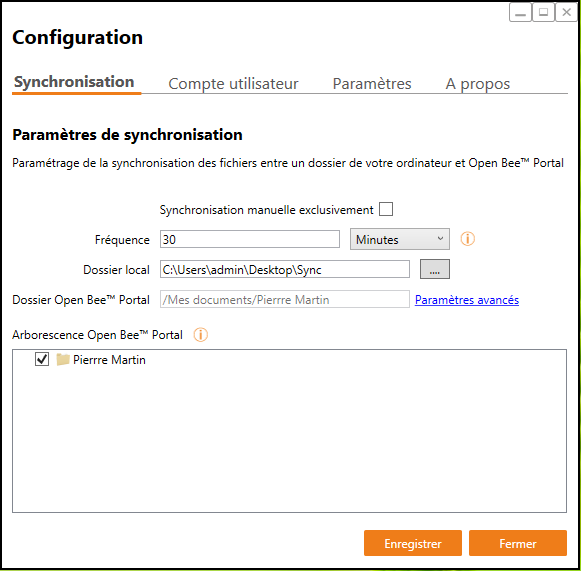
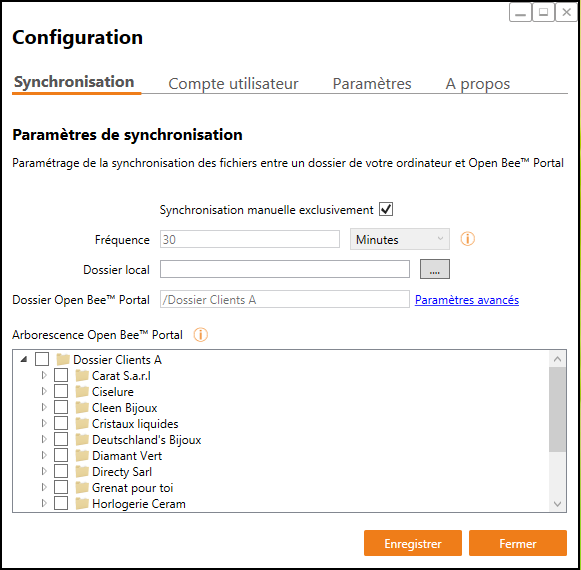
The “Synchronization” tab of Open Bee™ Sync allows you to configure the synchronization of your documents between your workstation and your Open Bee™ Portal .
For your folders to synchronize, you must check the box to the left of them.
If the box is not checked, then the files will not be synchronized.
- The “Frequency” allows you to set the frequency at which you want to synchronize your folders and documents. You can choose to sync your documents either in minutes or hours.
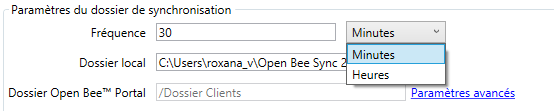
In the previous example, your documents will be synced every 30 minutes.
- The “Local Folder” allows you to select your automatic sync folder. All documents contained in this folder will be automatically sent to Open Bee™ Portal online and vice versa.

To select this folder, click on the “three little dots” to select the desired location. This window opens:
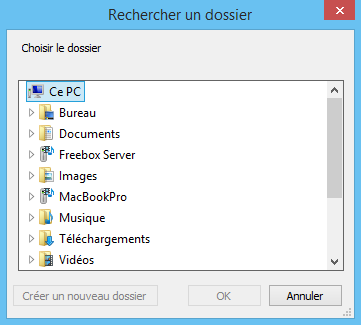
Choose the location in your tree and click “OK“.
Only the files present in the selected location will be synchronized and automatically transferred to your Open Bee™ Portal.
- If you delete files in the sync folder, those files will be automatically deleted from your Open Bee™ Portal the next time you sync.
- If a folder selected from the “Sync” tab does not contain a file, it will not be created in the sync root folder on your PC. As soon as a file is deposited in the corresponding folder in Open Bee™ Portal, it will then be synchronized and therefore added locally.
By default, the Open Bee™ Portal folder is the one in your “Secure zone” (Administrator in the case shown here).
You have the option to change the Open Bee™ Portal root of the folders to be synchronized by clicking on “Advanced Settings“.
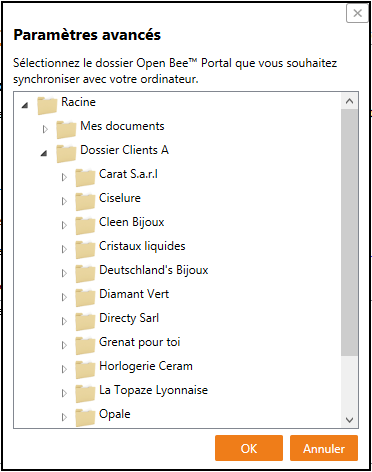
A warning message will appear informing you that you need to change your local sync folder (on your PC):

Click “OK“. The chosen tree structure will then be automatically updated:
You can also start a sync manually.
To do this:
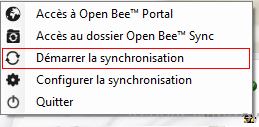
- Click the Open Bee™ Sync icon from the taskbar in the bottom right corner of your screen.
- Right-click on “Start Sync“: