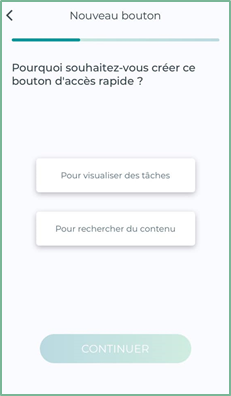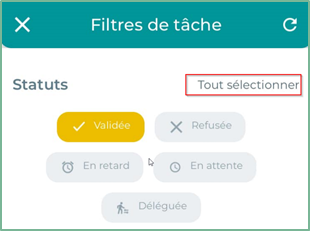
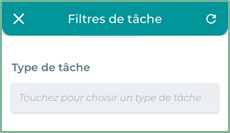
Task Type
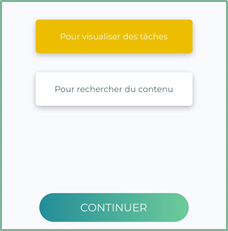
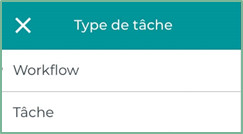
Select the type of task by clicking in the
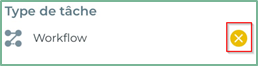
To delete the task, simply tap the “X”
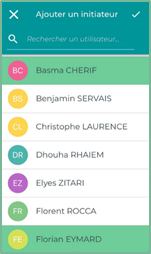
Initiator: it is the The person who filed the document.
Choose the initiator of the task, you can also make a multiple choice
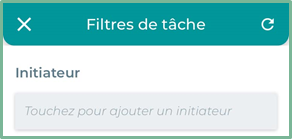
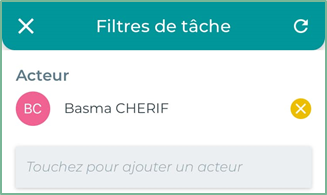
Actor: person in charge of the task
Choose the actor of the task from the Open Open Bee™ Portal groups and users., you can also make a multiple choice
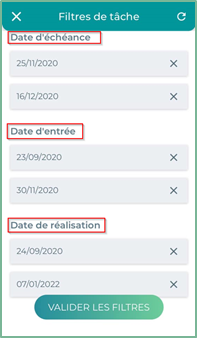
Date:
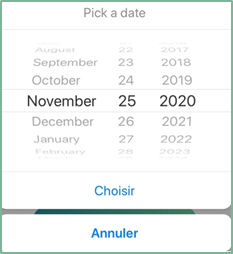
Set the dates
Due Date: The amount of time remaining before the task is overdue
Entry date: the date the task was assigned
Completion date: the date the task was committed
The following window appears with a summary that contains the filled job filters.
You have the option to change the filters by clicking on the ” Change Filters »
Finally, click on “ Create Button ”
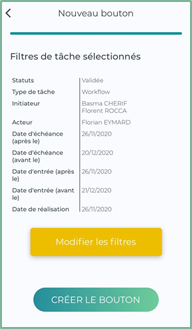
The creation of your quick access button is now complete.
The next time you log in, you’ll be taken directly to your personalized dashboard with your quick access buttons.
Actions on Quick Access Buttons
Various actions can be performed on the buttons from the ” Dashboard » :

Click the  to display the list of actions
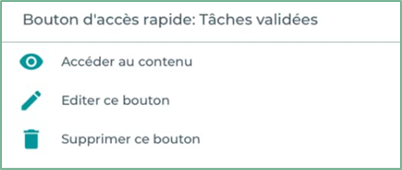
 |
Skip to content : View and view content |
 |
Edit button : You can change the button name, color, and filters |
 |
Remove Button : This action allows you to delete the button permanently |
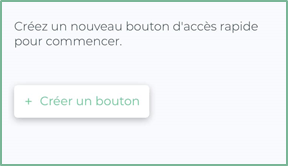
Directly from the dashboard, you can add quick access buttons by clicking on “ Create a button “
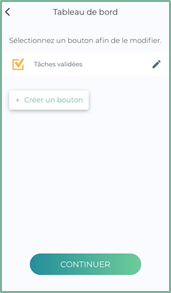
Creating a “To Search for Content” Quick Access Button
Click on the ” to search for content “, then click on ” more »
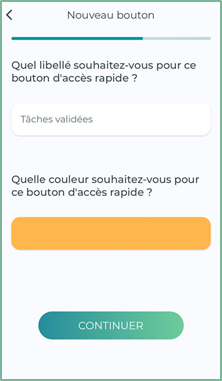
- Enter a ” label “ for your quick access button.
Example : ” Supplier invoices”
- Choose the color of your button and then click ” Continue “
- Click the
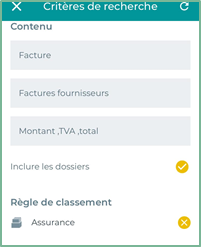
A window appears with the different filters:
Fill in the different fields displayed in the interface
Content : Enter the document name, description, and document content
Ranking Rule: Select the ranking rule
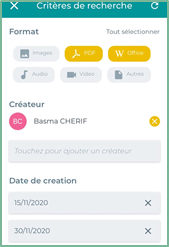
Format : select the document extension “images, PDF, Office, Audio, Video or Other, You have the option to select all formats
Creator : Click to add the creator of the document, you can make a multiple choice
Creation Date: Set the date of document creation
Date modified : Enter the date modified
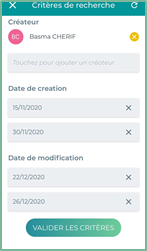
To finish Click on the button ” Validating the criteria “
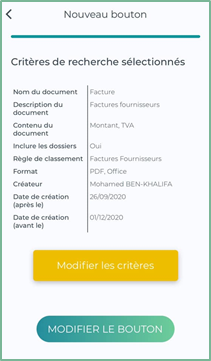
The following window appears with a summary that contains the recent search filters.
You have the option to change the filters by clicking on the ” Edit Criteria »
To finish Click on ” Create Button »
The creation of your quick access button is now complete.
The next time you log in, you’ll be taken directly to your personalized dashboard with your quick access buttons.
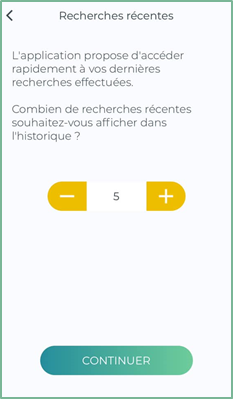
Recent Research
From this interface, you can set the number of recent searches to be displayed in the history by clicking on the  to add and the
  to reduce the number of searches.
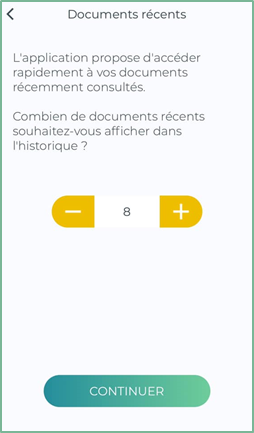
Recent documents
Click the continue button to proceed to the following settings: ” Recent documents»
On this interface, you can set the number of recent documents to be displayed in the history by clicking on the  to add and the
  to reduce the number of searches.
Document storage
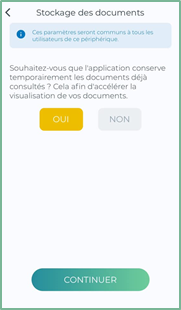
The following interface offers you to temporarily keep documents that have already been consulted in order to speed up the viewing of your documents