Expense report management
View the list of expense reports
The list of your expense reports is displayed in the “My expense reports” tab of the Open Bee™ Notes de frais module.
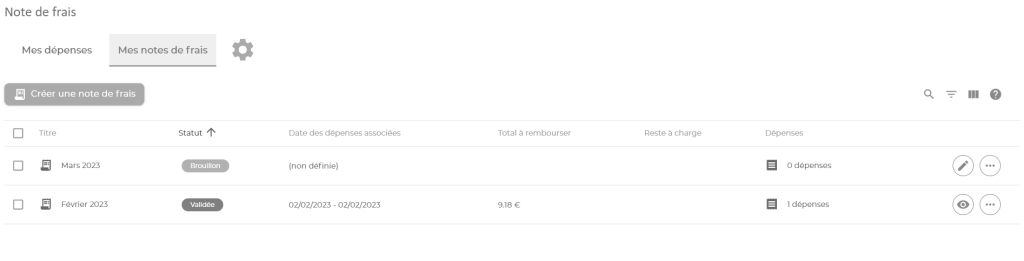
In this form, each line corresponds to an expense report.
A button allows you to create a new expense report.
At the top right of the list, there are four buttons that allow you to act on the list:
 : Allows you to search through your expense reports. The search is done on the title of the expense report.
 Please note that the search takes into account your filtering and sorting settings from the list.
 : Allows you to filter your expense reports according to several criteria (status, date, etc.)
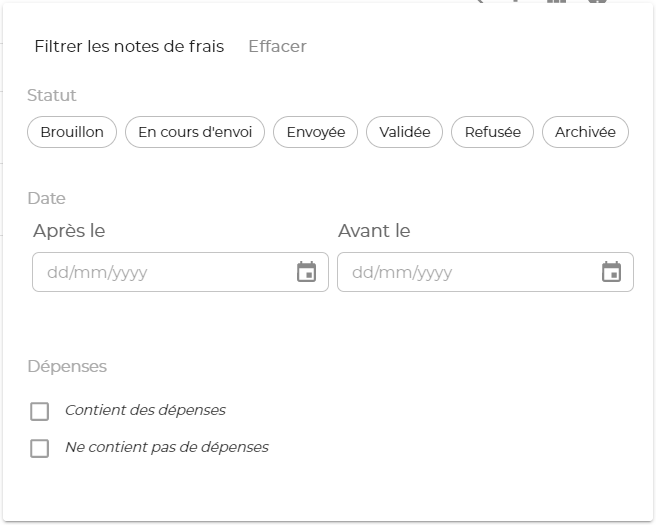
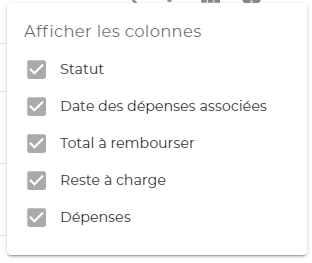
 : Allows you to choose which columns to display in your expense report list.
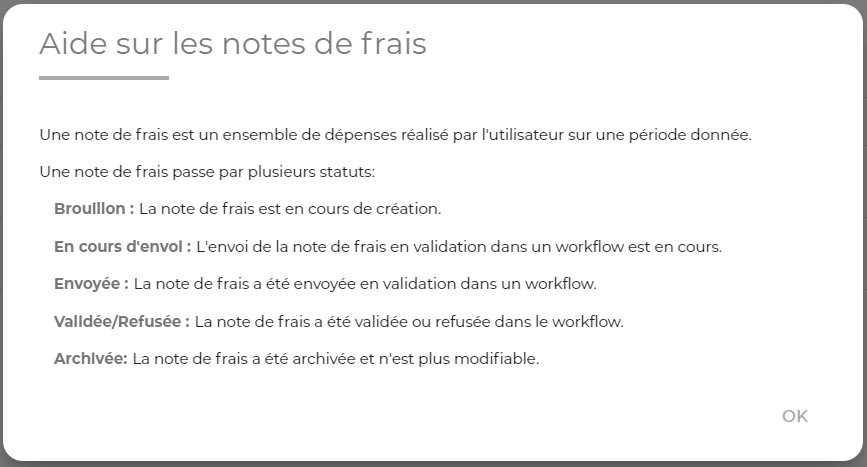
 : Provides access to help on expense reports, explanation of expense report statuses, etc.
Actions on expense reports
Each expense report line has a button  that displays the actions available for the expense report.
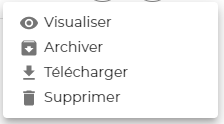
The actions available depend on the status of the expense report.
The “Download” and “Archive” actions are only available for expense reports with the “Validated” status.
The “Edit” and “Delete” actions are not available if the expense report has the status “Validated” or “Archived“.
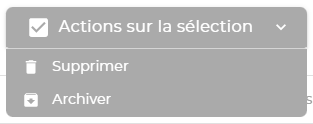
Each row also has a selection  box. If at least one item is selected, a new “Actions on Selection” button appears at the top of the list and allows you to perform an action on each selected item.
View an expense report
To view an expense report, you can either click on the title of the expense report or click on the view/edit  button to the right of each expense report.
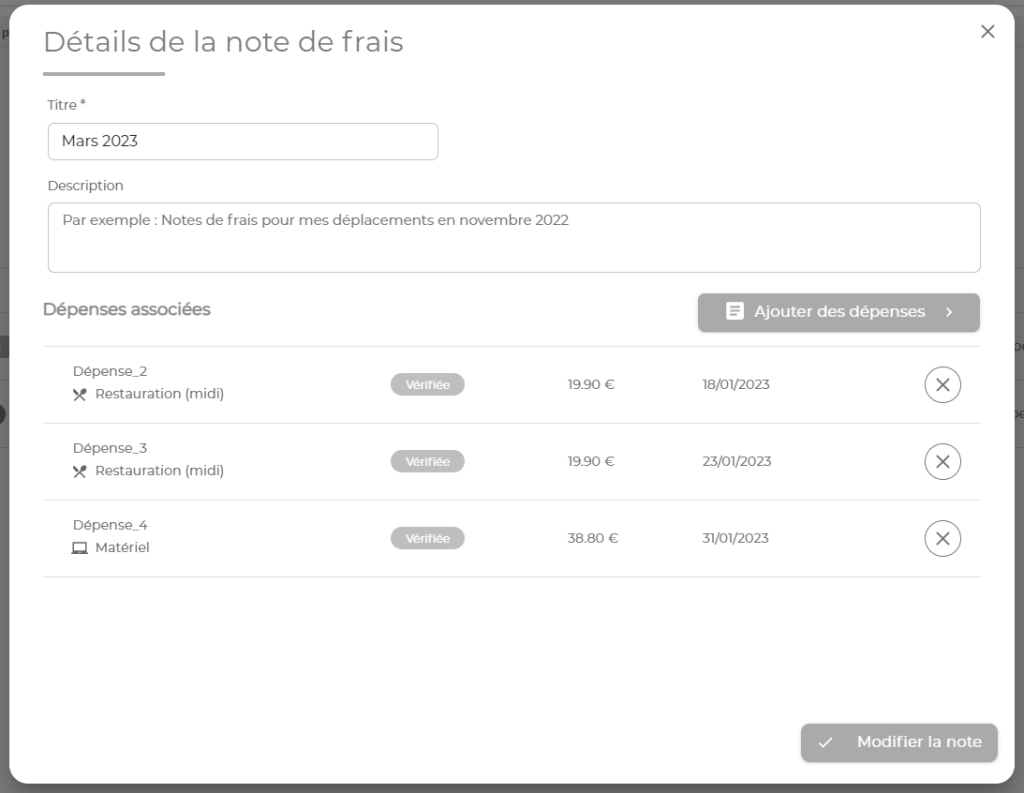
This screen allows you to view the expense report information and the list of expenses associated with it.
The button  allows you to save changes made to the expense report as well as new expense <> – expense report associations.
To remove the association of an expense with the expense report, click the button  .
.
Add an expense report
To create an expense report, click on the “Create an expense report” button.

This action will open the Expense Report Creation screen:
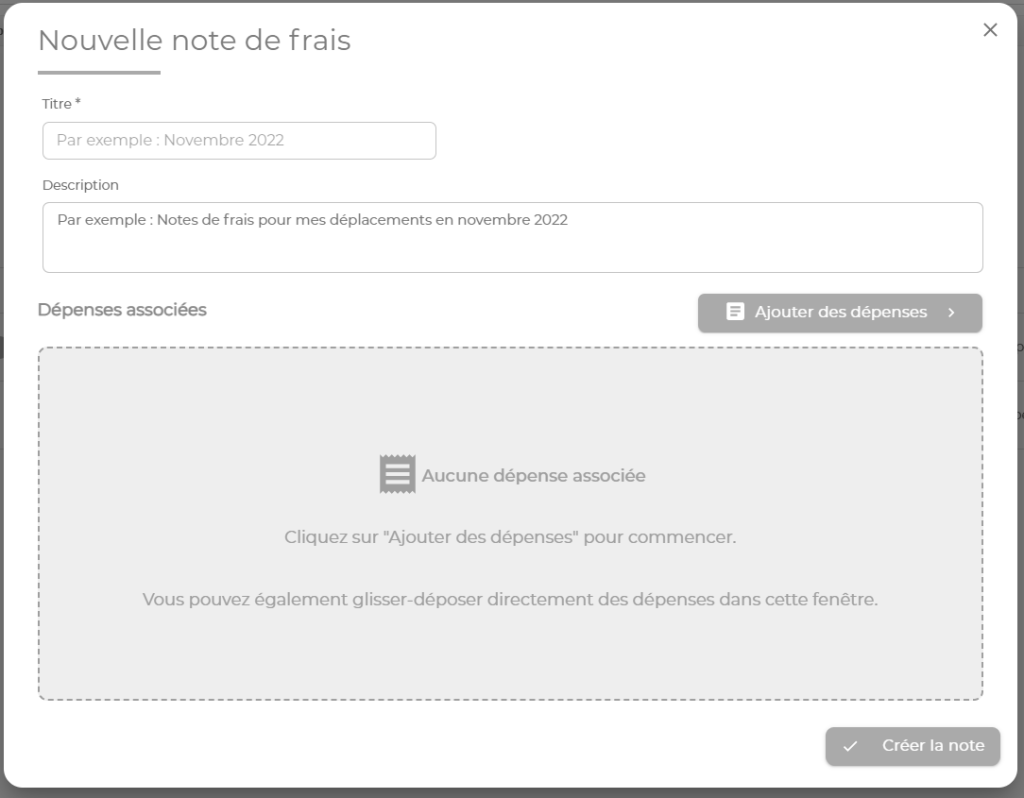
Only the title is required to create the expense report.
The description is optional.
Once the information is entered, you can create the note via the button  .
.
The expense report is then created with the status “Draft“.
Link expenses to the expense report
From the new expense report or detail screen of an expense report, you can link expenses to the report via the “Add expenses” button:
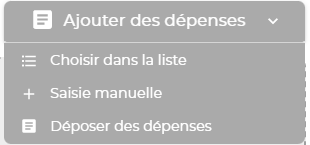
There are three buttons for linking expenses to the note:
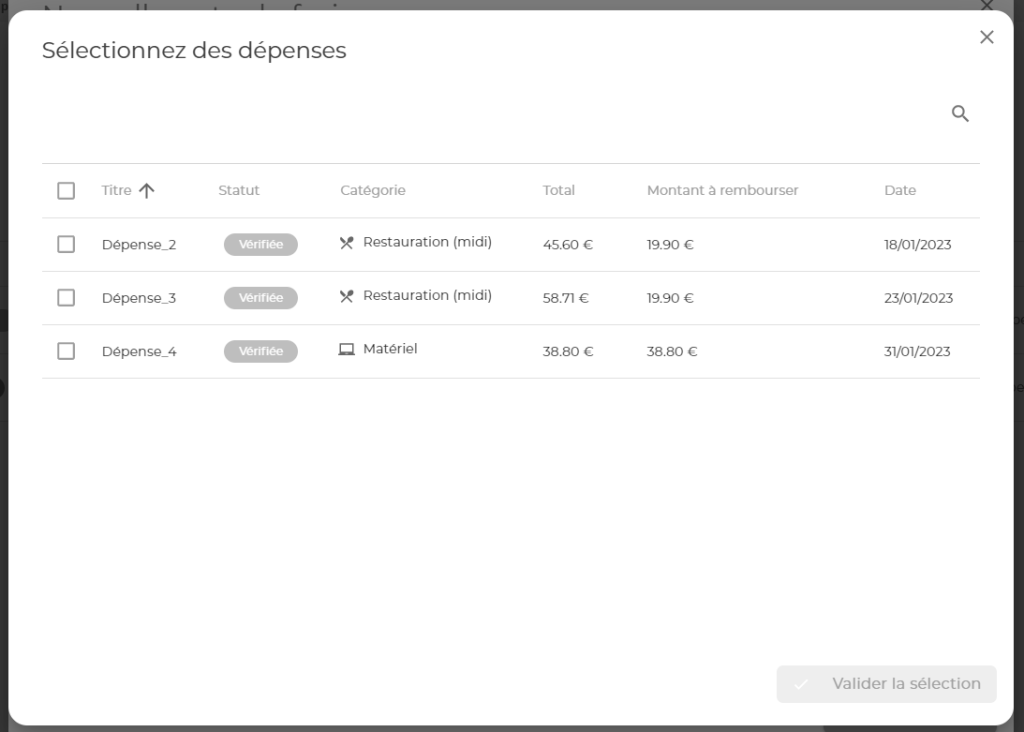
- Choose from List : Displays a list with all expenses eligible for an organization. An eligible expense is an expense that is not already associated with an expense report. A search function also allows you to search the list.
- Manual entry : Allows you to report a new expense by manually entering its information. See Add an expense by manual entry.
- Submit expenses : This action can also be performed by clicking on the “No associated expenses” area (when no expenses are associated with the note). The supporting documents added in this way will be transmitted to the server for automatic recognition.
Send an expense report for validation
To submit an expense report for validation, several prerequisites must be valid:
- A validation circuit has been configured and activated by your administrator
- The expense report has a status of “Draft” or “Rejected“
- The expense report has at least one expense
- The expenses associated with the expense report have a status of “Verified” or “Rejected“
Once these conditions are met, select the “Send for validation” action to start the validation process.
The expense report will then change to the “Submitted” status and the validator(s) will be notified.