Accounting Setup
The accounting configuration page allows you to manage the various parameters related to your accounting one by one.
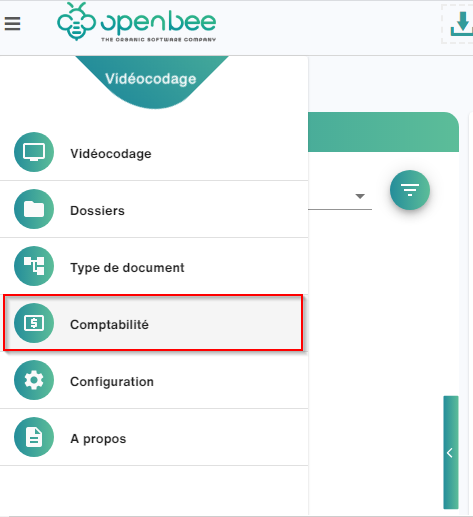
To get to this page, simply follow the path “Accounting” –> Accounting setup.
Setting up labels
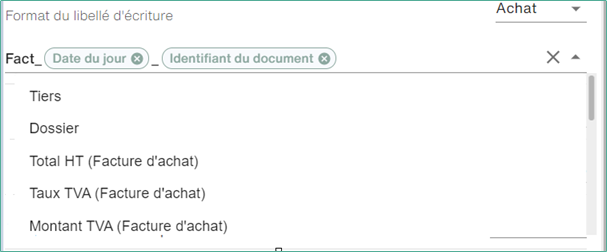
The ledger entry labels are fully customizable and can be edited independently for each type of ledger journal.
Simply write the desired text and press “ ENTER ” in the field provided after selecting the type of log for which the format is intended.
To use the variables made available by Smart Capture, point the cursor in the field; A dialog box with the variables will appear. All you have to do is select the desired variable.
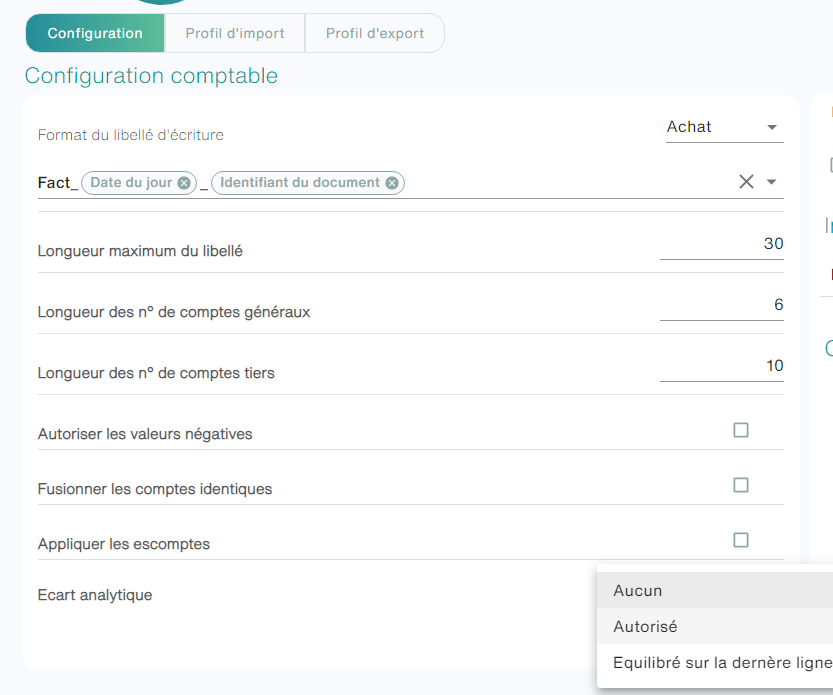
- Maximum Label Length: This option allows you to choose the maximum length of ledger entry labels allowed in Smart Capture. Labels exceeding the size limit will be truncated.
- Length of G/L account numbers: This setting is used for the creation of accounts from Smart Capture, G/L accounts will be automatically populated with 0s if they are too short.
- Length of third-party account numbers: This setting is used for creating accounts from Smart Capture, third-party accounts will be limited to the number chosen for this setting
- Allow negative values: This option allows you to allow negative values to be made in your Smart Capture ledger entries:
- If checked : Values will remain negative in the debit or credit column
- If the box is unchecked : a negative value on debit will automatically turn into a positive value on credit and vice versa.
- Merge Identical Accounts: This option allows you to merge the different ledger lines generated on an entry that has the same account number. This merger is done by adding up all the amounts on the lines involved
- Apply cash discounts: This option enables cash discounts on all accounts payable, for this feature to work, the vendor account must have a cash discount populated
- Analytical deviation: This list is used to determine the action to be taken when an analytical breakdown results in a deviation:
- None : Performs no actions; The user will choose how to balance the allocation before being allowed to post the entry
- Allowed : Allows the user to validate even if the analytics is not balanced
- Balance on Last Row : Adds the variance found to the total of the last broken section
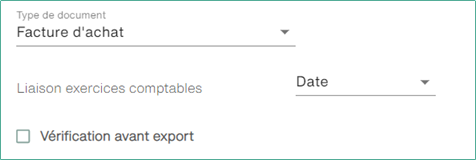
Fiscal Year Linking
This list allows you to choose which index of type Date will determine the fiscal year in which the invoice is located
Open Bee™ Portal Validation
As part of a validation circuit present in Open Bee™ Portal, it is possible to intervene in the export of entries in batch management by warning or blocking documents that have not been validated.
Pre-export verification
To enable this feature, which is specific to each document type, you need to check the box:
To bring up related options:

- The first option allows you to allow or prohibit the export of entries that are not yet validated in the workflow
- The second option allows you to choose a specific task in the workflow from which entries can be exported to the general ledger. Tasks are represented by their name, and preceded by the name of their workflow to which they belong.
Reversal of Entries
This part will make it possible to determine which values will generate a column inversion for the amounts of the accounting entries. Indeed, if Smart Capture detects that the value of an index corresponds to one of the values in this table, it will transpose the amounts normally debited to the credit column and vice versa.

In the Index column: You will need to select the index to which you want to add a specific value.
In the Value column: The specific value in question
Display:
On the second tab of this page, you will be able to make changes to the display of your ledger entries. This change can be made independently on the two pages displaying the ledger entries in Smart Capture:
- The videocoding page
- The batch management page
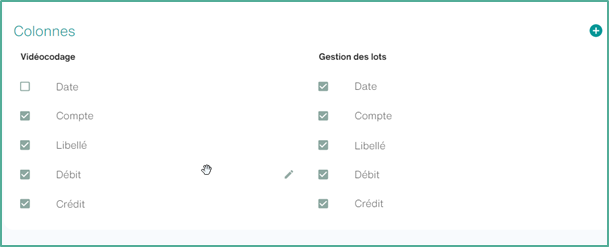
Add a column
To add a column, simply click on the button  provided. A new column is then added for both pages, all you have to do is edit it
You can always configure the column by clicking on this icon  to add a drop-down list to the column
Edit a column
To edit a column, click on the pen icon to the right of the column
