General
The account management present in Open Bee™ Scan Capture will allow you to delete/add/modify the accounts present in the software. If no account is yet listed, we invite you to import them from your accounting ERP by following the instructions on this page. For the sake of understanding, a third-party account refers to either a vendor account or a customer account. All account deletion, modification and addition actions carried out within Open Bee™ Scan Capture will not impact your accounting within your accounting ERP. Only the addition of an account can be reflected on your Accounting ERP via an export, if it allows it.
Filters
On this part of the software, at the top of the page, filters are available to help you search for the desired account(s) more easily.

- Folder: This filter is mandatory to see the list of your different accounts. This is because without a value on this filter, Open Bee™ Scan Capture will not be able to show you the accounts you are interested in.
- Type: This filter allows you to display only a portion of your accounts out of these:
- Accounts Payable
- Customer Account
- Expense account
- VAT account
- Account: This text field will allow you to search for an account by typing all or part of:
- their account number (for third-party accounts, we will only look in the third-party account and not in the master account)
- Label: You can enter a word in the middle of the label for the search
Display
Selection Column
Filtered accounts are displayed on the left side of your screen, ordered by account (so third-party accounts will be placed in relation to their central account)
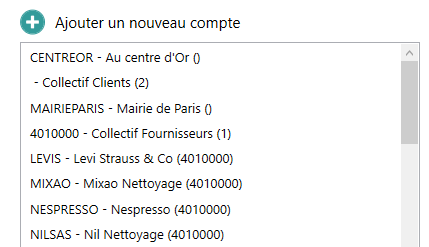
These are displayed in the following formats:
- For G/L Accounts: Account Number – Label
- For Third-Party Accounts: Third-Party Account Number – Label
To view the details of an account, simply select the account from the list.
The detail
Once the account has been selected, the poster of its details will appear on the right side of your screen.
The detail will depend on the type of account selected:
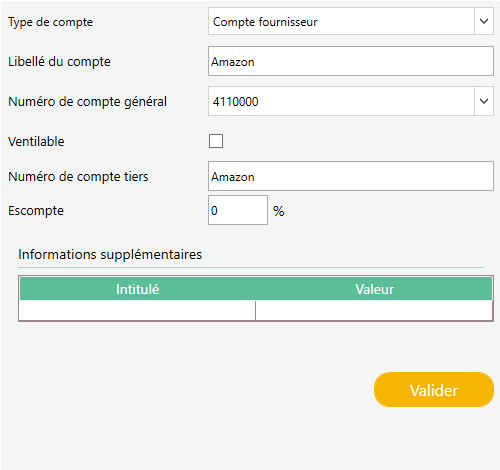
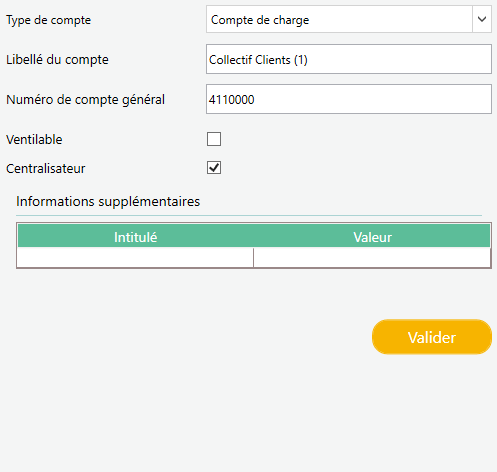
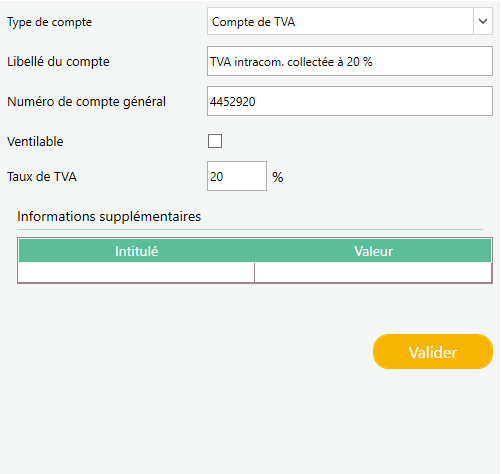
The account type and wording are common to all details.
G/L Account Number: Corresponds to the G/L account, except in the case of a third-party account where it corresponds to their centralizer.
Breakdown: Allows you to know if the selected account allows analytical breakdown.
Third-Party Account Number: (Only in the case of third-party accounts) Refers to the Third-Party Account
VAT Rate: (Only in the case of VAT accounts) Refers to the rate linked to the selected account. This information is optional, Open Bee™ Scan Capture does not base its account application on this indication
Additional Information
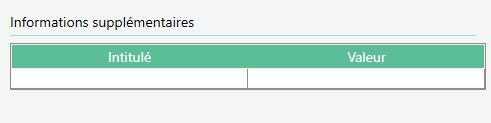
You can store additional information for your accounts on Open Bee™ Scan Capture . Its information can be retrieved via an accounting database import or manually entered into Open Bee™ Scan Capture.
The purpose of storing its information is simply to be able to feed it into the accounting output carried out by the software.
Its information is recorded in the form of:
- A label (Used during export to bind a variable with this information). If possible, this heading should be capitalized and avoid spaces and special characters. This avoids unpleasant surprises when binding to a variable.
- Value
Actions
Please note that the actions of modification, deletion and addition of accounts are subject to specific rights. If you do not have the rights to these actions, please contact your administrator
Changing an account
To edit an account, simply select it from the list and edit the details(s) of the account that you don’t like, before validating. It’s possible that some warnings like this  will prevent you from validating. Be sure to comply with them or change your accounting setup as shown on this page
Adding an account
To add an account:
- Press the add account button (If it is not visible, it means that you do not have the right to create an account)
- Edit your new account details. Make sure you choose the right type for this one
- Validate
Delete an account
To delete an account:
- Go to the account view list
- Right-click on the account you want to delete
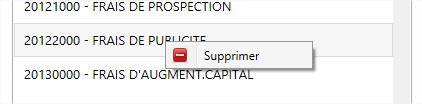
- Click on the “Delete” action
- Confirm deletion