General
The export allows you to transfer the accounting entries made with Open Bee™ Scan Capture to an accounting software.
To access the accounting export configuration, simply go to the main menu: “Accounting / Accounting export“.
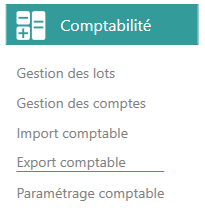
First setup
If the accounting export is not yet configured, a blank page opens with only a “type” list. This list allows you to choose the form in which you want to export the entries.
Open Bee™ Scan Capture has been designed to be flexible so that you can export entries to multiple accounting applications.
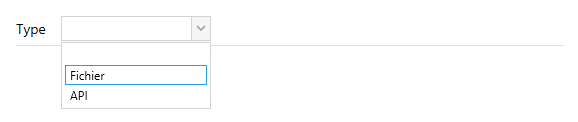
The following types are available:
- File : It is suitable for most applications. A text file is generated from the lines of entries made. This file will be saved by the console to the user’s computer.
- API : Enables direct communication between the console and the accounting application. The transfer of writes is invisible to the user (after starting the export) but requires specific libraries.
Export Profile
Once the import type is selected, Open Bee™ Scan Capture will then ask you for the profile to use for your type.

A profile, in the sense of Open Bee™ Scan Capture, is a specification of your export type. Currently, all file export formats are handled in the same way, so there is only one possible choice: “All“
Export model
When your export type and profile are selected, Open Bee™ Scan Capture will open a window where you can select or create your export template.
An export template is a template that is pre-configured and saved in your Open Bee™ Scan Capture so that you don’t have to do it again later. By default, frequently used templates are pre-set when Open Bee™ Scan Capture is installed and are ready to use.
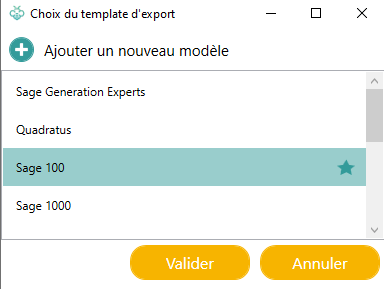
Choosing a predefined template
If your accounting software is already in the predefined templates, then you just need to click on it and then click on the “Open” button. This template will then be used as the default template for export to Open Bee™ Scan Capture.
Creating a Template
If your template doesn’t exist, then you can create it by clicking on the “Add New Template” button, a new row will appear from your template list. The template was set as the default template directly when it was created. All you need to do is come up with a suitable name and click the “Open” button to save it.
Once you have chosen a model, it will be opened directly on the next visit.