The interpretation process is automatic and runs after the document has been scanned. Interpretation works as a Windows service (in the background) on the server. It supports images of scanned documents to extract the text layer and information about a document template.
As soon as the documents are interpreted, they are available and awaiting validation in the Open Bee™ Scan Capture Console, in the “Video coding” tab:
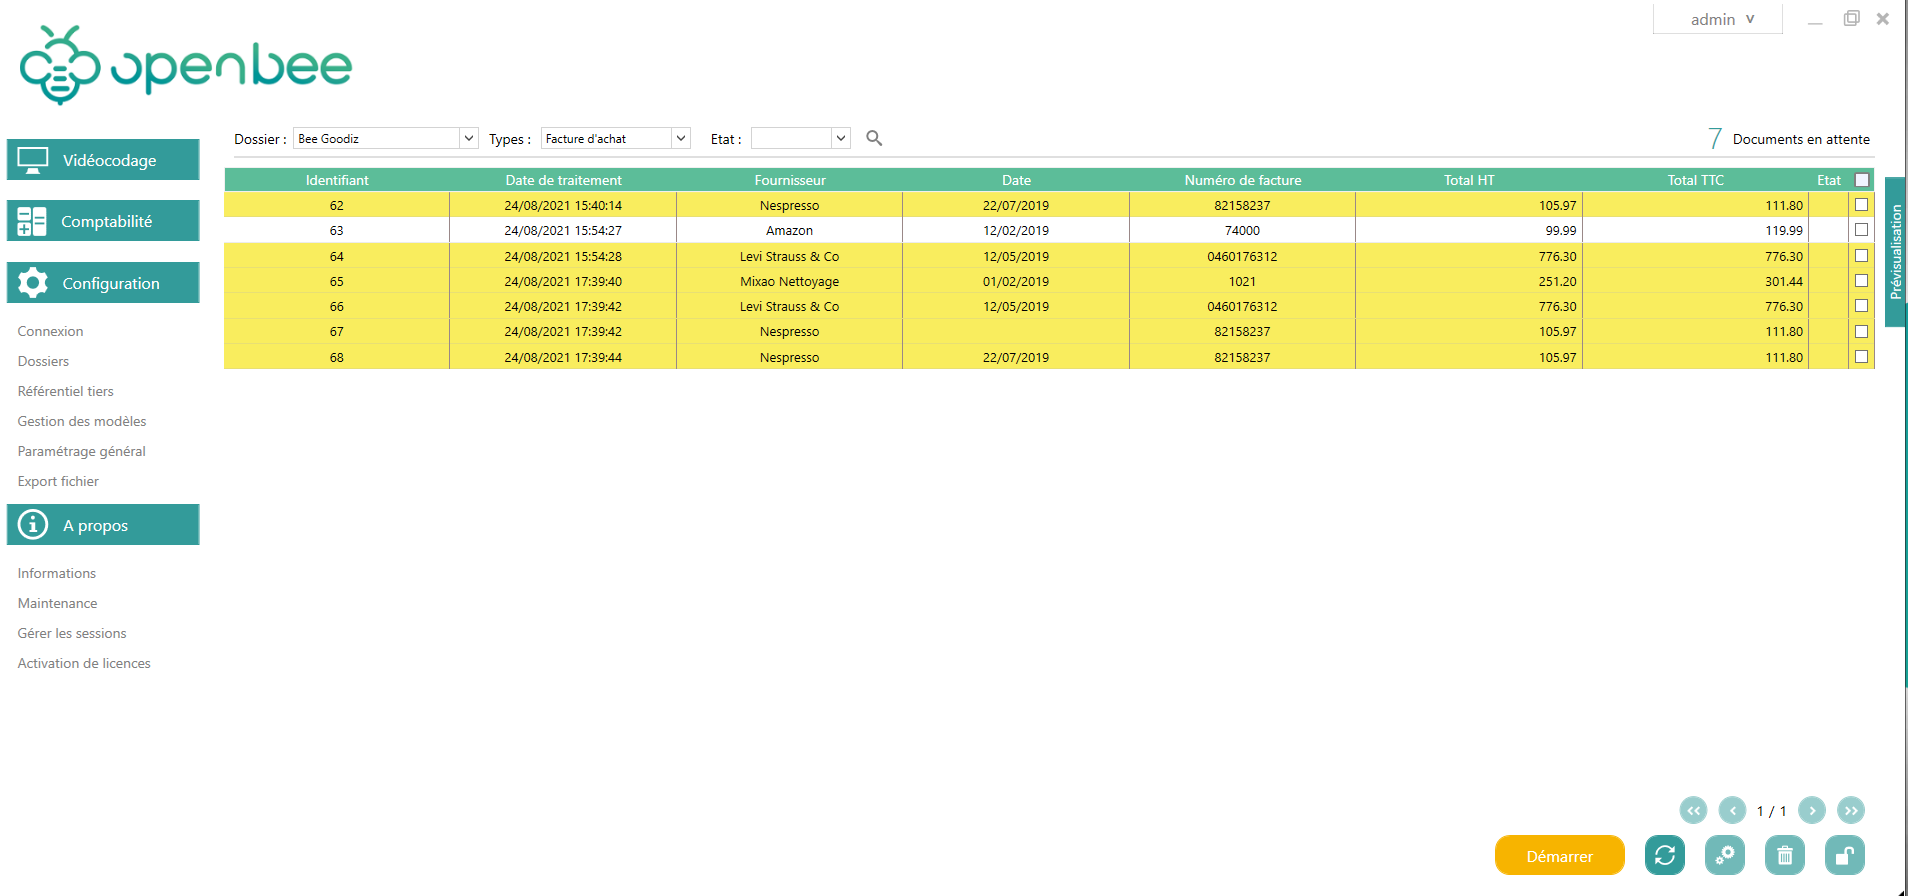
Documents awaiting validation
The table showing documents awaiting validation has the following fields by default:
- Identifier : Unique document processing number assigned by Open Bee™ Scan Capture
- Processing Date : The date the document was interpreted by Open Bee™ Scan Capture
- Vendor: The name of the vendor that has been recognized on the document
- Invoice Date : The date of the invoice that was recognized on the document
- Invoice number : The number of the invoice that was recognized on the document
- Total excluding VAT : amount excluding VAT that has been recognised on the document
- Total including VAT : amount including VAT that has been recognised on the document
- Status : Information that determines whether the document is locked by another user
The information displayed is customizable: each field of the document can be used. To add or reorder the columns, go to “Configuration“, then “General Settings“, “Display” tab.
(This page is described here)
It is possible to filter invoices belonging to a particular folder or document type, using the drop-down list at the top of the page:

This list can be refreshed at any time, by pressing the “Refresh” button:

Selection of documents to be processed
It is possible to select one or more documents to be processed using the checkbox to the right of each document in the table. To select all pending documents, simply check the box at the top of the header of this column.
There are also keyboard shortcuts that allow you to quickly select a set of documents (see “Keyboard shortcuts” section on the main page)
Document overview
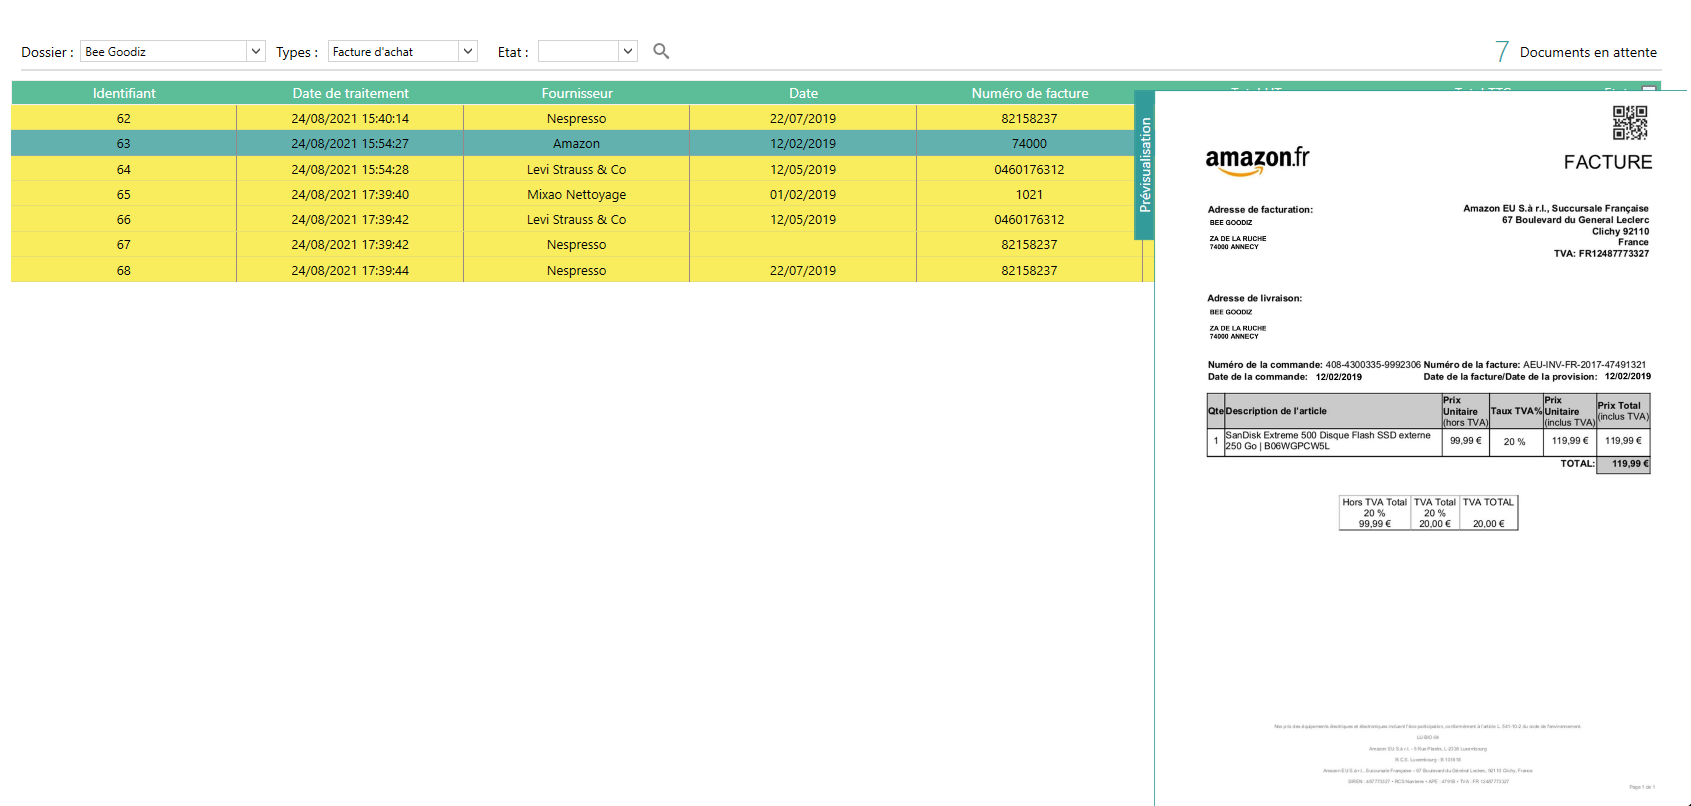
To open a preview of the selected document, click on a document to select it and then click on “Preview” on the right side of the screen, or use Ctrl+P:
Reinterpret
It is possible to manually reinterpret documents with the next button after selecting documents.

Deleting documents
It is possible to delete documents. Select those, and hit the delete button located at the bottom right. Confirmation will be requested prior to final deletion in documents.

Unlocking Documents
If documents have been locked by another user who has started videocoding them and you need to videocode them for them (Example: the employee has left their workstation), then it is possible to unlock these documents by selecting them using the checkboxes in the right-hand column:
 Unlocking is done by pressing the unlock button at the bottom right:

This action is subject to special rights: only users with the necessary rights can unlock documents used by other users.
Unlocking documents is an action to be used exceptionally. Care should be taken to ensure that the session that holds the document lock will not continue its actions on the locked documents.
Videocode documents
To start videocoding the selected documents, simply press the “Start” button or the “Enter” key:
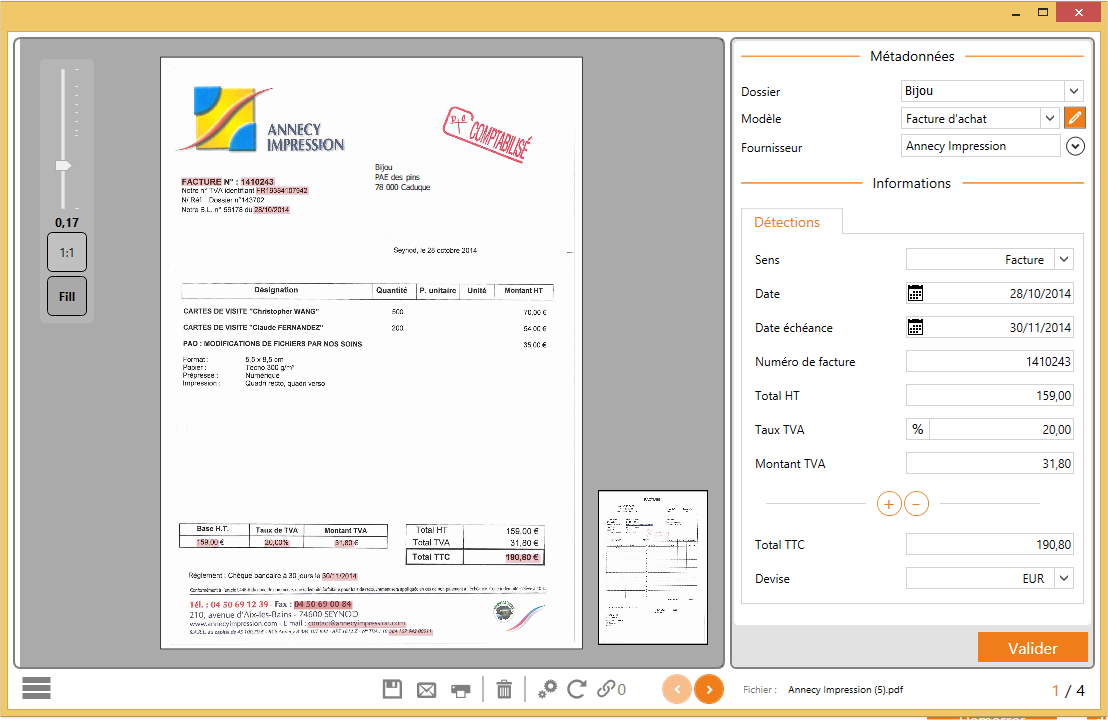
The videocoding interface consists of the invoice display on the left, the display of the fields captured on the document on the right and an action bar located at the bottom of the document:
Zoom
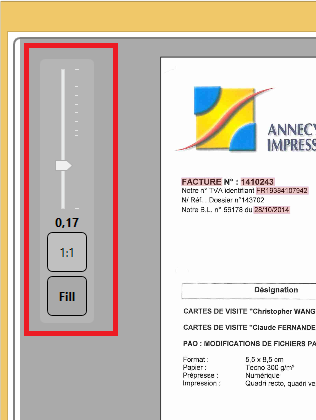
It is possible to zoom in or out of the invoice using the slider on the left.
The zoom can also be operated using the mouse wheel by pressing the “CRTL” key at the same time.
Or by selecting an area using the right mouse click and pressing the “ALT” key at the same time.
Right-clicking alone allows you to move around the page.
The “1:1” button allows you to rescale the page.
The “Fill” button allows you to adjust the entire page to the window.
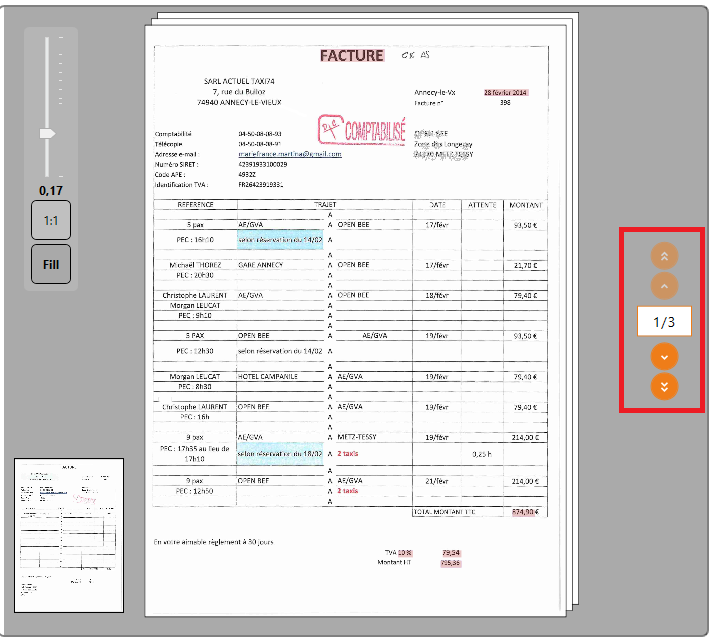
When a document contains multiple pages, arrows appear on the right side of the document to navigate between the different pages.
The single arrows display the next or previous page.
The double arrows take you directly to the first or last page.
It is also possible to enter a page number directly by double-clicking directly on the page number.
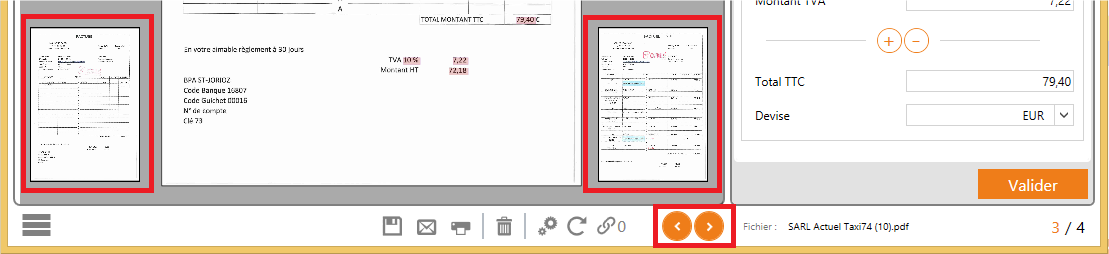
Documents in the validation queue can be navigated using the arrows in the action bar. To the right of these arrows is the name of the original file absorbed by Open Bee™ Scan Capture. Even further to the right is the number of documents that remain to be videocoded.
A thumbnail of the next and previous document is also displayed in the viewing area.
Verification of the information captured on the document
It is possible to change the values of the fields captured by Open Bee™ Scan Capture, using the interface on the right side of the window.
Metadata
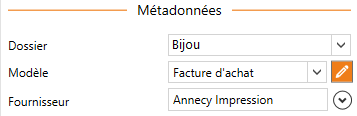
- The Folder and Template can be positioned using a drop-down list.
- The Supplier is a free input with a list of proposals that is displayed according to the first letters entered. To create a new provider, simply enter their name without taking into account the autocomplete proposals. The button next to it opens the third party card.
News
The information represents the fields available for the document. Open Bee™ Scan Capture shows you the values it has detected on the current document.
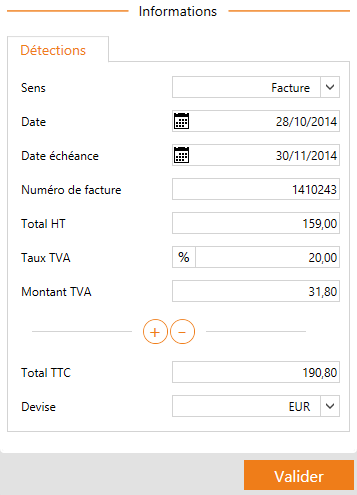
Some fields can be colored:
- In red to indicate that the value does not conform to the expected data type or that a value must be entered.
- In Blue to indicate that Open Bee™ Scan Capture has inferred or calculated this information because it is missing or illegible in the current document
- In Yellow to indicate that the value was not found, and could not be inferred. Open Bee™ Scan Capture has proposed the default.
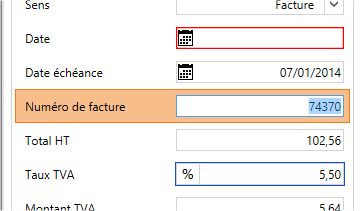
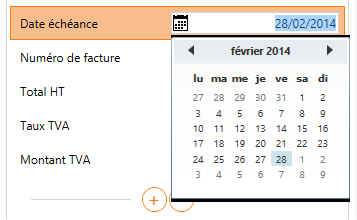
At the end of each entry when the user exits a field, the entered value is sometimes reformatted to maintain consistency with respect to the types. This is the case for numeric and date fields.
e.g. “01.04.2016” will be rewritten: “01/04/2016”.
Date fields have a calendar icon on their left. They allow you to open a calendar in order to easily select a date.
It is possible to edit all fields manually by entering new values with the keyboard. It is also possible to select values directly on the document. To do this, select a field, then use the mouse to “click and drag” on the image of the document on the left side of the window.
Click on the upper left edge of the box and move the mouse while keeping your finger on the button:
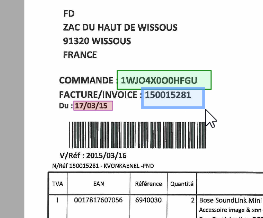
When the button is released, the selected area will be assigned in the field.
Field Notification
Your fields can have notifications, which are represented by a triangle at the left end of your field. They correspond to rules that are not correct on one or more fields. There are two types:
- Orange
 Triangle: Non-Blocking Notification
 - Red
 triangle: Blocking notification, if you have a blocking notification on one of your fields, you will not be able to validate your document.
To get more details about the notification, simply hover over the triangle to see the name of the rule in error.
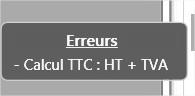
In the case of item lines, these notifications are also present, but they are represented by framing the box of the field in error in red or orange.
Document Validation
Once this verification step is complete, you can press the “Validate” button” below the previously checked fields. The next document in the selection will then be displayed. If all documents have been processed, a message informs you that “you have processed all your documents” and you return to the document summary table after closing the videocoding window.