Description
You can customize the area where Open Bee™ Scan Capture retrieves the value of an index.
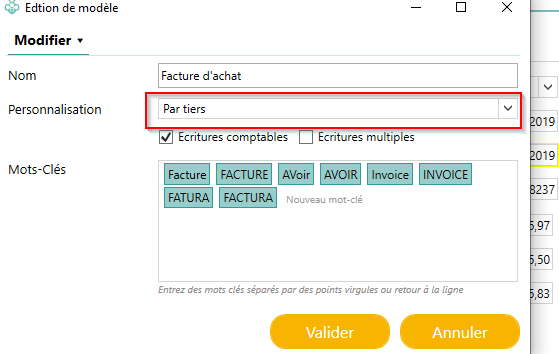
Indeed, some indexes may be ambiguous (e.g. date, due date or invoice number, etc.) because other values in the document may interfere with the search (delivery date, parcel number, etc.). In this case, you can specify how Open Bee™ Scan Capture retrieves the value of each index for a given party, or folder (customization by party or by folder is chosen via the template applied to the invoice). This choice is available in the document template.
You can recognize a custom area by its color. Indeed, on Open Bee™ Scan Capture , the zones have a specific color code:
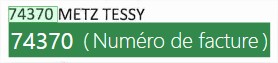 Specifies an information box for the “invoice number” field. That is, the area where the text currently used as the value of the field is located.
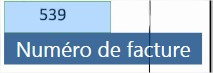 Specifies a customization area for the “invoice number” field. That is, the area that allows Open Bee™ Scan Capture to focus its search on a specific location.
Simple Customization
- Select the field you want to customize from the list of information on the right side of your screen
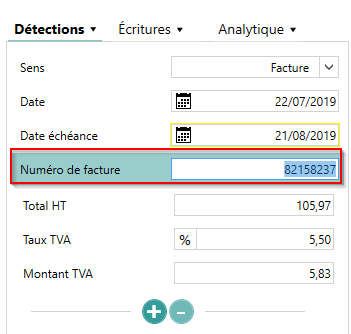
- Hold down the CTRL key to go to the image of your document to select the area, you will notice that your cursor has changed and looks like a cross
 . It tells you that you are in personalization mode. Still holding down the CTRL key, press and hold the left mouse button while dragging your area to frame the text that Open Bee™ Scan Capture should have chosen for your index. Counsel Feel free to make a fairly large area around your value. This only serves as a restriction for Open Bee™ Scan Capture , so don’t be too specific. If you are customizing an
index that multiplies
, e.g. Total excl. VAT, Total excl. VAT(1), Total excl. VAT(2). The customization will be global for the HT index, it is not defined for each multiplication of this index. In this case, feel free to customize a large area containing all the values of these indexes (in this example they are very often aligned vertically so a large vertical area on the column is the right solution).
. It tells you that you are in personalization mode. Still holding down the CTRL key, press and hold the left mouse button while dragging your area to frame the text that Open Bee™ Scan Capture should have chosen for your index. Counsel Feel free to make a fairly large area around your value. This only serves as a restriction for Open Bee™ Scan Capture , so don’t be too specific. If you are customizing an
index that multiplies
, e.g. Total excl. VAT, Total excl. VAT(1), Total excl. VAT(2). The customization will be global for the HT index, it is not defined for each multiplication of this index. In this case, feel free to customize a large area containing all the values of these indexes (in this example they are very often aligned vertically so a large vertical area on the column is the right solution).
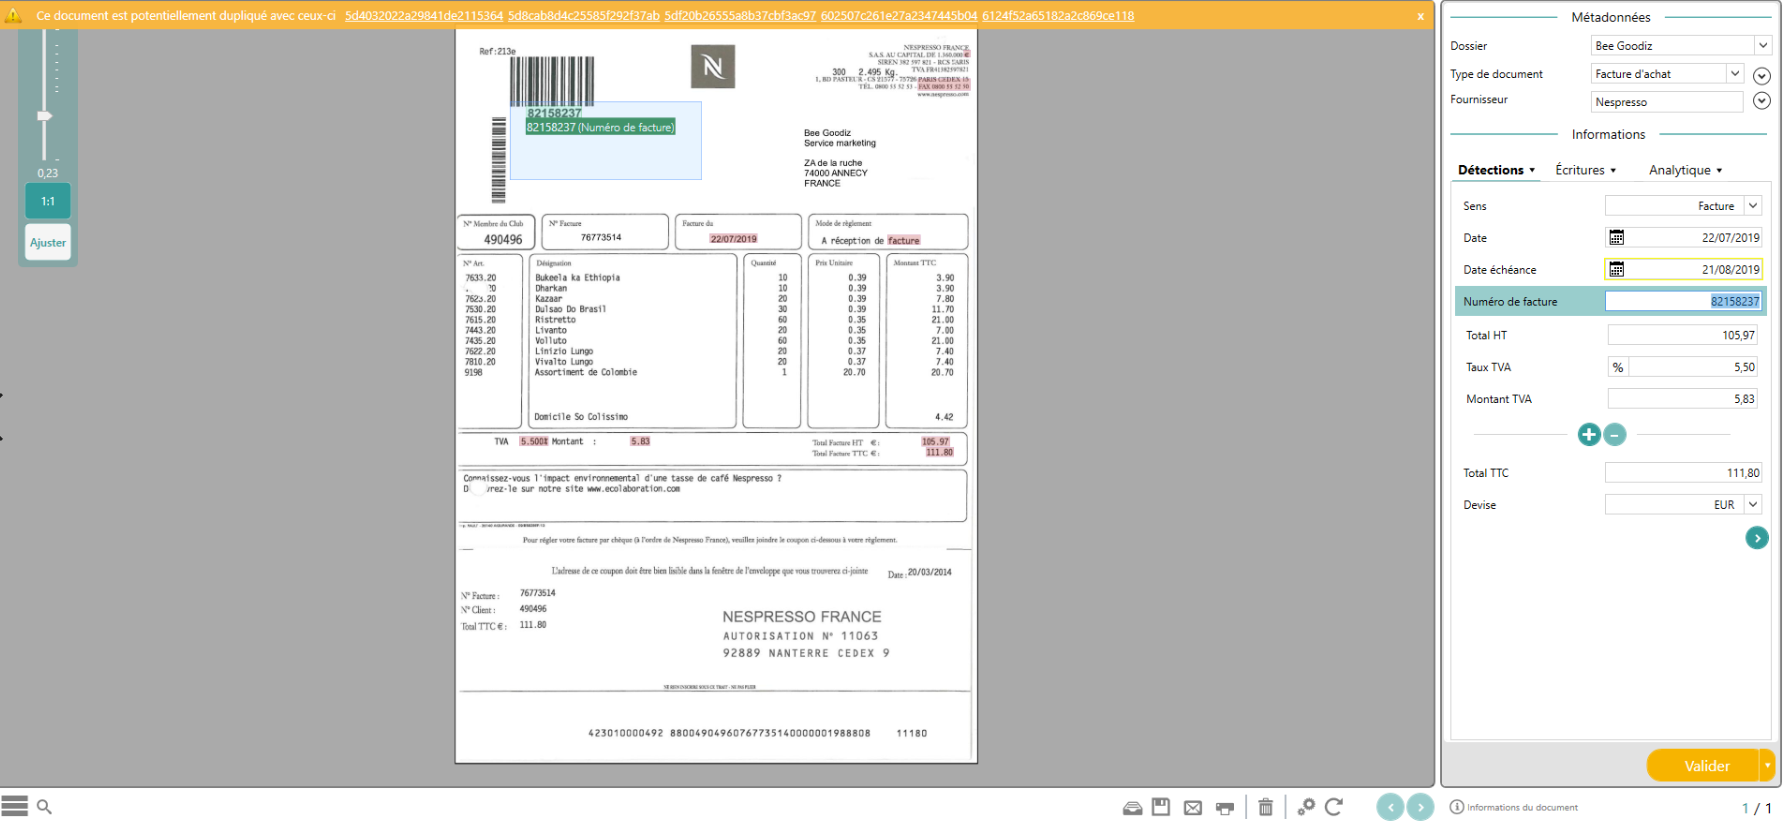
Once the mouse button is released, customization will be done
Advanced Customization
To go further in customization, you can double-click on an already customized area to display the customization edit mode.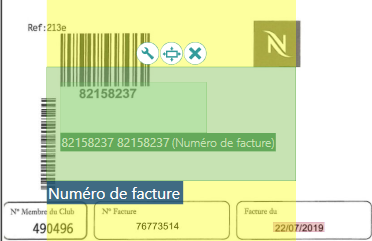
The different options are:
 Enter the customization wizard that will allow you to change the templates that allow you to find the different values of an index, to make some of them priority, or to add markers. See next paragraph marker/value
 Change the search type for this area: By default the search type is Vertical/Horizontal by clicking on this button you can scroll through the different search types which are: Fixed Area, Vertical, Horizontal.See next paragraph type of search box
 Delete the custom area
Marker/Value
Open Bee Scan Capture provides the user with values for the various indexes configured. These values are marked on the document and then associated with markers. A tag is a keyword (example for an invoice number: No., Number, Num, Invoice). This allows Open Bee™ Scan Capture to eliminate values that are too far away from it. By combining the different values and markers in this way, we obtain marker/value pairs. Open Bee™ Scan Capture then selects the most relevant pair (well aligned, or very close, etc.)
Type of search box
A personalization box is associated with a search box, which can be:
- Fixed Zone: The value will be searched within the zone but not elsewhere
- Vertical Zone: The value will initially be searched within the zone. But if it’s not found, the area will move in a vertical corridor all the way down the bill to try and find a matching value. (Represented by a large vertical yellow area in customization edit mode)
- Horizontal Zone: The value will initially be searched within the zone. But if it’s not found, the area will move in a horizontal corridor along the entire length of the bill to try to find a matching value. (Represented by a large horizontal yellow area in customization edit mode)
- Horizontal/Vertical Zone: The value will initially be searched within the zone. But if it’s not found, the area will move in a vertical and then horizontal corridor all the way down the bill to try to find a matching value. (Represented by two large horizontal and vertical yellow areas in customization edit mode)
Expert Customization
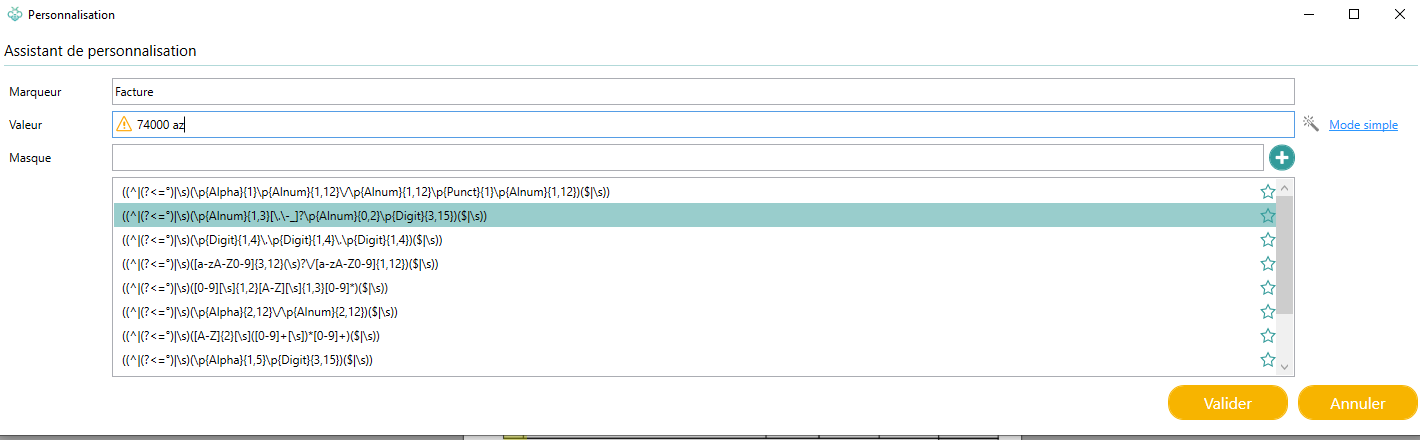
Clicking on the button opens the customization wizard.
This interface is made up of two parts:
- Marker: If a marker appears in the text box, it means that Open Bee™ Scan Capture has recognized a marker among those it knows for that index in your customization area. If the text box is blank you can enter a marker contained in the box, Open Bee™ Scan Capture will then save it as a potential marker for that index.
- Value: In the text box appears all the text present in your text box. So proceed step by step:
- Clear words that don’t match the desired value for the index
- See if Open Bee™ Scan Capture knows a pattern for this value:
 this icon warns you that Open Bee™ Scan Capture knows a pattern that can be applied to find this value
 this icon warns you that Open Bee™ Scan Capture cannot recognize this value via known patterns. So you need to teach him a new pattern. You have two choices:
- You haven’t taken the regex training: Just click on the icon , it will generate a very simple template to find your value. You can verify that the template has been successfully generated by getting the icon . You can then validate and continue your videocoding.
- You’ve gone through the regex training: You can click on “Advanced Mode”, which allows you to get this interface:
- You haven’t taken the regex training: Just click on the icon
Change the configuration of an index
If your rights allow it, you can change the configuration of an index for the current party. To do this, simply double-click on the name of the index you want to change.
A configuration window appears, allowing you to modify the index as you wish. For more information on how to set up an index, see Managing Indexes.
Customizing an Index Within an Item Line
To customize an index within an item line, you must:
- Select one of the boxes in the column corresponding to this index
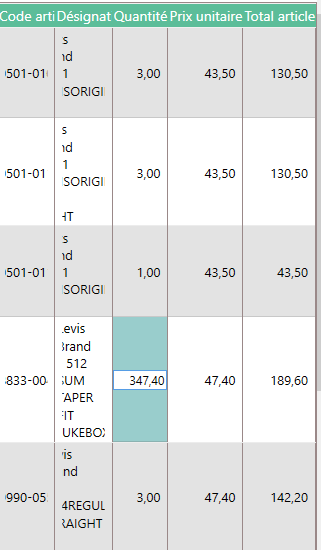
- Follow the customization procedure mentioned above
To set up an item row index, simply double-click on the column header corresponding to the index you want to edit.
Test customizations
When you’re done customizing your indexes, you can test these customizations by reinterpreting your document (click on the button  at the bottom of the interface) so that Open Bee™ Scan Capture applies your latest customizations and instantly see if they work or not and modify them accordingly.
Careful
Don’t forget to check that a third party is recognized for this document if you want Open Bee™ Scan Capture to be able to save your customizations
Review your customizations
By default, customizations saved by Open Bee™ Scan Capture do not appear on the screen so as not to overload the display. However, if you can check the customizations already made for a third party, so as not to redo them unnecessarily, delete some of them or simply check that one of your fields includes the value present on your new document. To do this:
- All you have to do is click on the icon at the bottom left of your interface
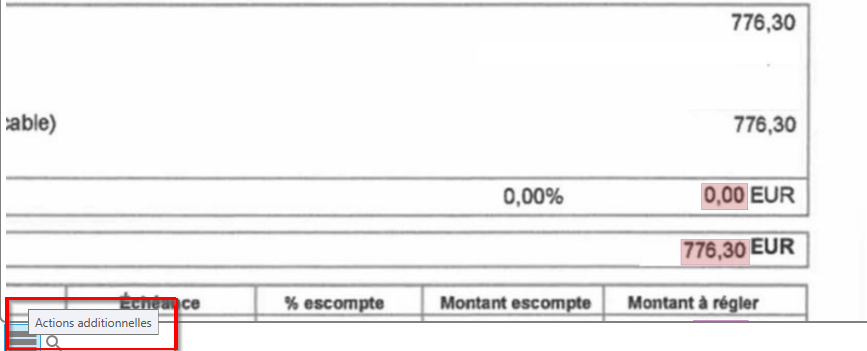
- A menu will then open, you just have to select the “See all customizations” option for them to appear
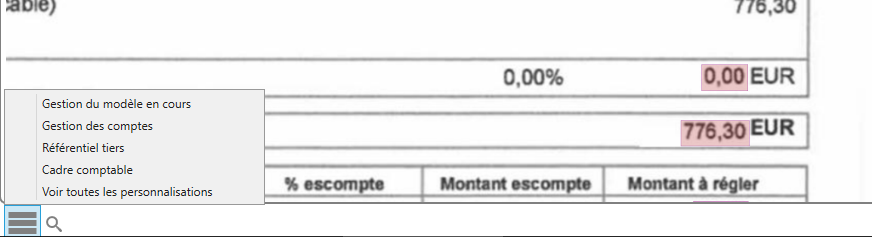
- If you want to make them disappear, you just have to click on this option a second time.