On this page:
On-the-fly workflow definition
This feature allows you to create a single workflow that has the same lifespan of the selected document.
On-the-fly workflows address a one-time need when a document requires a specific validation flow.
Create a workflow on the fly
View document
Click Document Actions
Hover the cursor to Workflow
Click Create Workflow on the Fly
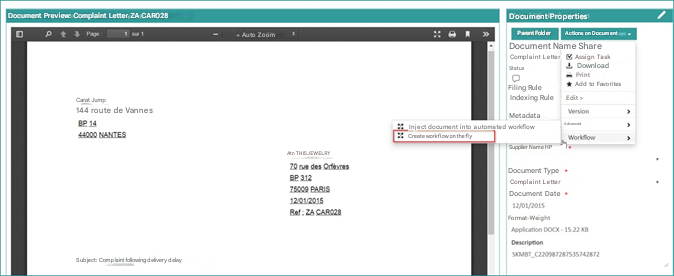
A window will appear to assist you in creating the workflow
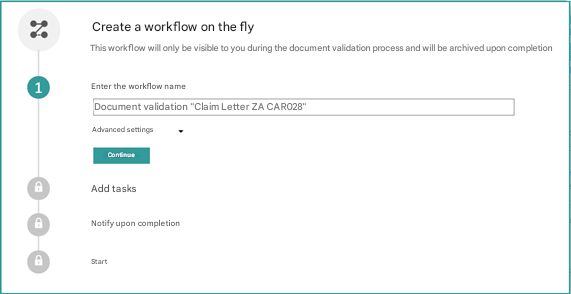
Step 1 : Add the workflow name
- Enter the name of the workflow

If you want more settings , click on advanced settings:

Option 1
The default supervisor is the one who created the workflow, however you can add more supervisors with the additional supervisors option
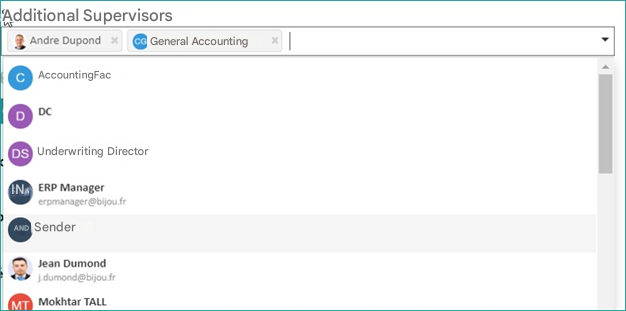
Option 2
You have the option to make the document visible during the lifetime of the workflow

Click  To proceed to step 2
Step 2 : Add Tasks
Creating a Task
By default, task 1 is displayed, and you can also edit the task settings by clicking the 
When you want to add tasks, you must choose at least one actor to run that task and set a duration
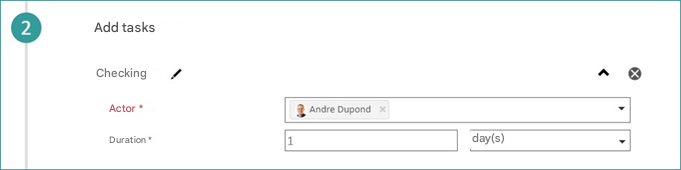
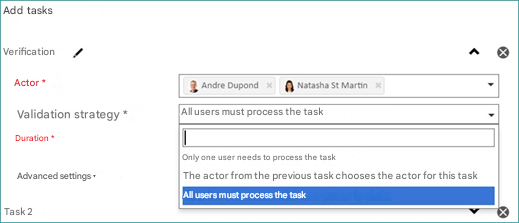
Note: if you assign the task to more than one actor, you must choose a validation strategy. You have several options :
- Only one user needs to process the task
- The actor of the previous task chooses the actor of the task to be processed
- All users must process the task
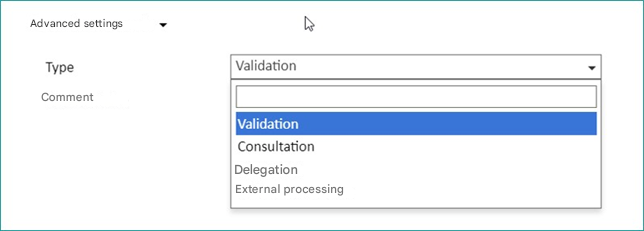
By clicking on the Advanced Settingsyou can choose the type of task (validation, consultation, delegation or external processing) and add a comment.
Click the Back button if you want to go back to the previous step

To add a new task, simply click on the Add Step button:
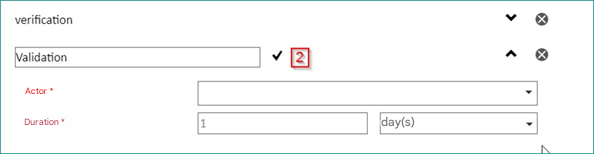
The following interface allows you to add other tasks if you wish , e.g. “Validation ” :
The Continue button: allows you to proceed to the next step.
Step 3 : Notification at the end of the execution
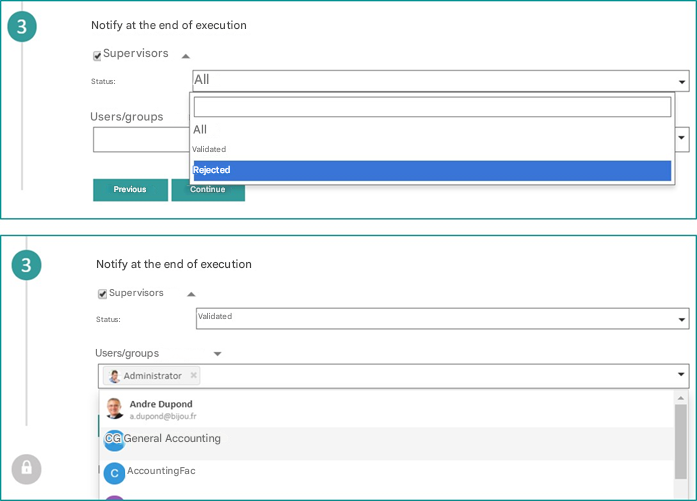
At the end of a workflow run, you can notify supervisors and other users and groups about the status of the outgoing document.
Click Continue to proceed to step 4
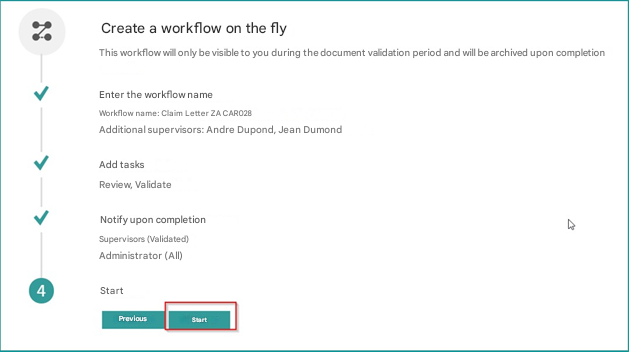
Step 4 : Start the Workflow
Once the steps are complete, click start to start the WF
A message will appear informing you that the operation was completed successfully
