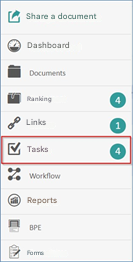
Go to the “tasks” interface
To access the list of tasks: click on this icon 
A window will appear with all the dashboard items/click on Tasks:
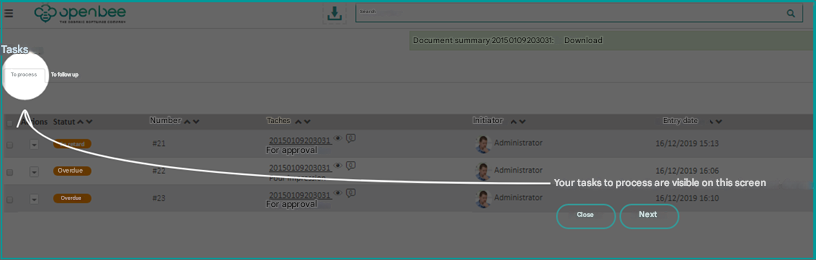
By clicking on the ” Tasks” tab, a guided tour will automatically be launched to explain the role of each element.
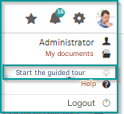
You can also manually launch the tour from your profile.
The task list interface consists of two main tabs “To be processed” and “To be continued” which allows you to process and track your tasks, you can also decline and validate tasks by clicking on the “To be processed” tab
The “to be processed” tab
This screen allows you to view and modify all the tasks that are being processed or carried out and that are assigned to the logged-in user or one of his delegates.
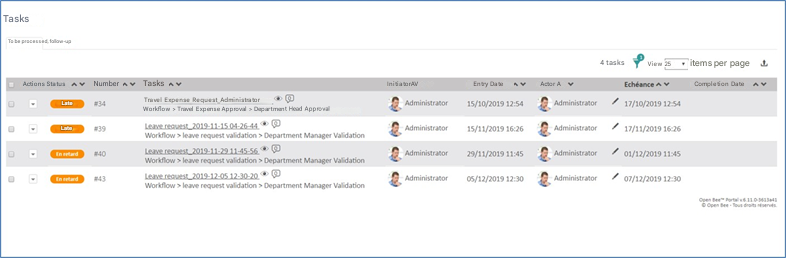
Description of Columns
Status : “Pending”, “Overdue”, “Approved” or “Denied”.
By default, “Pending” and “Overdue” tasks are displayed
Number: Indicates the identifier of the task in the list
Tasks : In this column you will find the document name, the task type, the workflow name, and the task name
If the logged-in user is the actor of the task, they can click on the task to view the detailed view.
The eye  icon allows you to view the document.
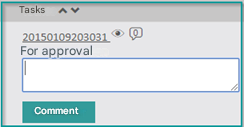
By clicking on the comment  icon, you can see the number and comments associated with the document as well as add new ones.
Initiator: this is the person who filed the document or filled out the form
Entry Date: The date the document was filed
Actor : The person in charge of the task
To change the actor, simply click on the pen icon next to the actor’s name. 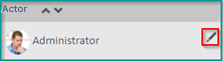
Click on the drop-down list and select the user(s) or a group of users
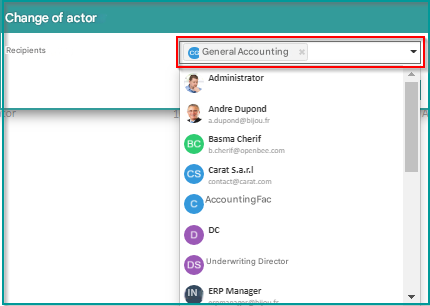
A task can now be reassigned not to a single user but to multiple users or a group of users.
Due Date: The amount of time left before the task is overdue
Completion date: date of validation or rejection of the task
The ” Validate ” and ” Decline ” buttons allow you to process tasks in batches.
 Only tasks assigned to the logged-in user can be processed.
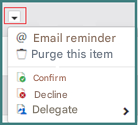
You can validate your document either directly from the task list by clicking on 
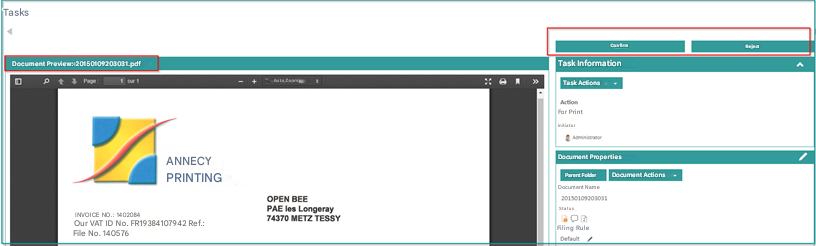
Or by clicking on the link to display the screen containing the document view and the validation of the task
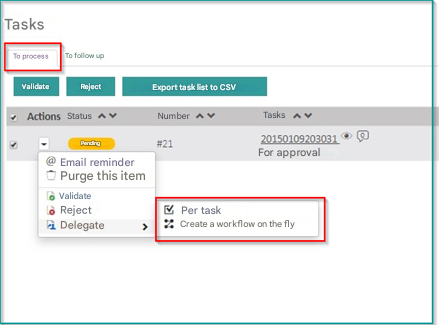
The Delegate button: allows you to delegate the task to another actor either by creating a single task or by creating a workflow on the fly
By checking the ” Actions” box, you can perform several operations:
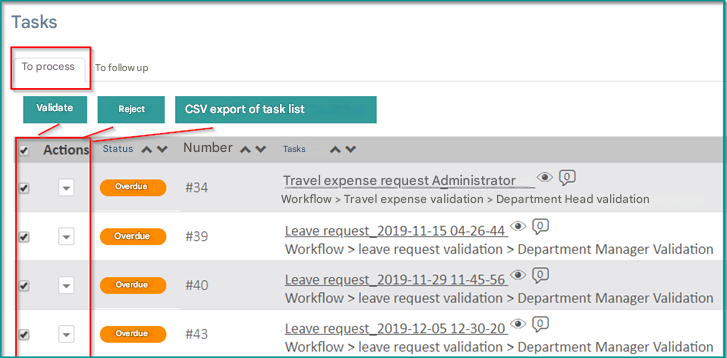
You can validate jobs in batches or choose to decline them
You can also export the task list to CSV, for this:
- Select the tasks you want to export
- Click on “ CSV Export of Task List”
- A message will appear informing you that you can download the file:

- Click Download
- A CSV file is downloaded by your web browser
It is also possible to create a unit task, independently of a workflow, from the actions menu on a document
The “to be continued” tab
The next “To Follow” interface displays the lists of tasks to be followed by the supervisor or by the workflow initiator
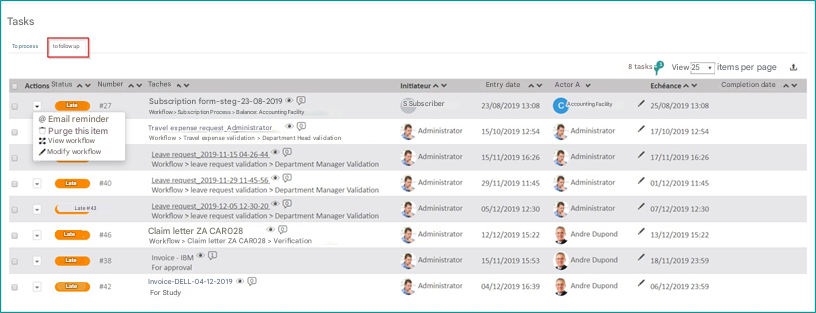
The “Selection Actions” button allows maintenance operations on tasks:
- Follow-up by email: the actors of the selected tasks will receive a reminder by email
- Purge documents : Documents will exit the workflow with a “Declined” status.
- View Workflow: View the workflow diagram
- Edit Workflow: Allows you to edit the workflow associated with the task.
Filters
This option allows you to sort through all columns, using the filter at the top right of the task list.
For example: to view ” overdue ” tasks, simply click on the filter icon 
Click on the drop-down list and choose the status.
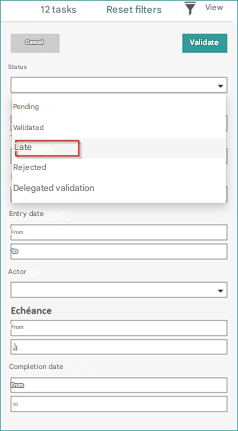
You can also filter by task type.
Choose a “workflow” task type: two fields are automatically added: Workflow Name and Tasks.
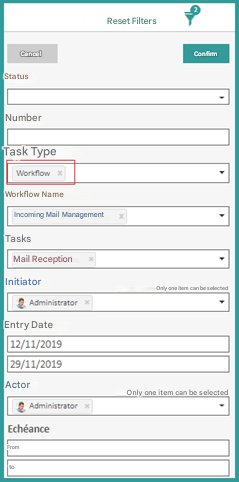
Once you choose the workflow name, all tasks associated with the selected workflow will automatically appear.
You can reset the filters in your to-do list by clicking the “Reset Filters” button
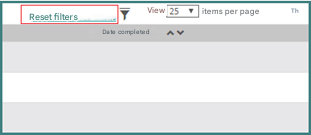
The user’s search filters between sessions will be saved.
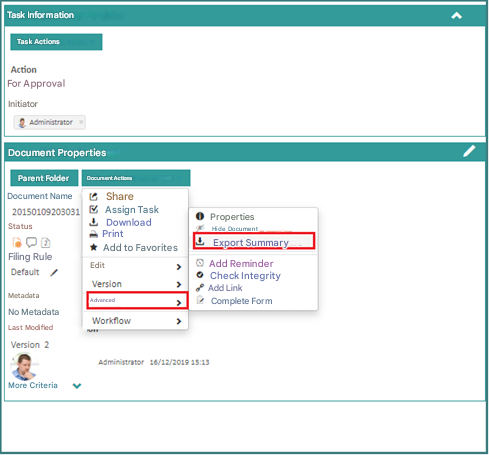
Export the history of tasks associated with a document in PDF format
To export the history of tasks associated with a PDF document
- Click Document Actions/ Advanced
- Click on Export Summary
A window appears:
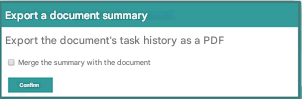
- Click on Validate
A background processing information message is displayed to inform you that the operation is being processed.

Once the operation is complete, another message will be displayed with a download link
- Click Download

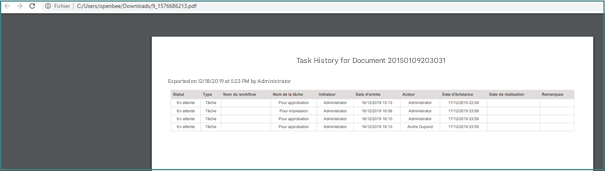
Here is a preview of how to view your export of the document’s task history.