The dashboard is the default screen you’ll land on after authentication.
This screen allows you to manage your daily tasks such as tasks to be processed, documents to be filed, etc. It also allows you to quickly visualize, with the help of widgets, metrics related to the use of your document space.
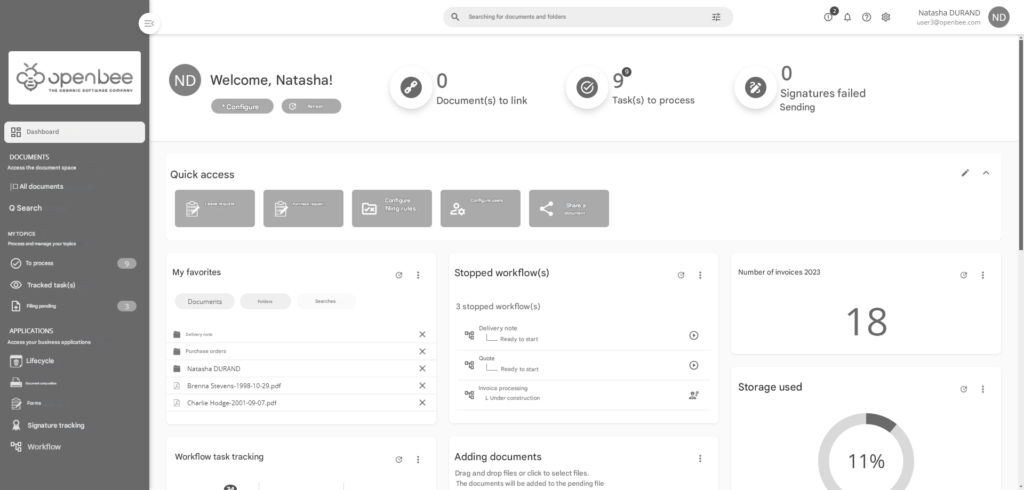
The dashboard is divided into 3 parts:
- The banner
- Quick access
- Quick access
Banner
The banner allows you to quickly view your most important daily tasks. It is also from this element that you will access the configuration of your dashboard.

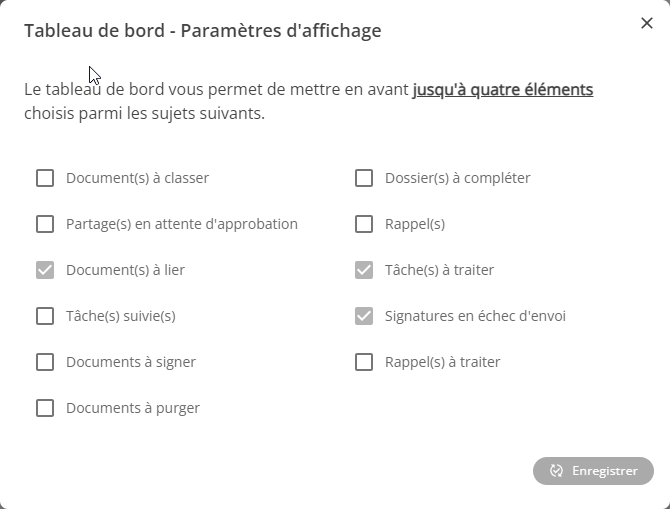
The right part of the banner contains the elements that you have chosen to highlight in your banner (see “Configuring the banner“).
Each element is clickable and takes you to the corresponding screen.
Configuration
The “Configure” button gives you access to different dashboard configuration actions:
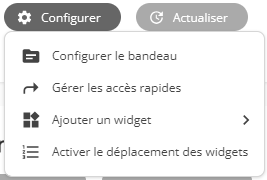
This opens a window where you can choose which items to highlight in your banner. The banner allows you to highlight up to four elements.
Manage Quick Access
This opens a window with a list of quick accesses configured on your dashboard.
See “Quick Access” section.
Add a widget
This opens a list of widgets available to add to your dashboard.
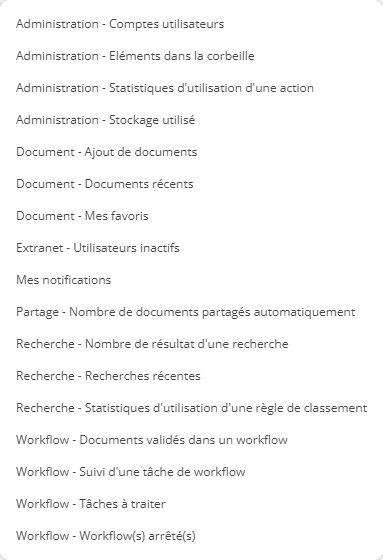
Clicking on a widget can have two effects:
- If it is a widget that requires configuration, then the configuration window for that widget opens.
- Otherwise, the widget is added directly to the dashboard.
Each widget has its own configuration and behavior.
See section specific to each widget.
Enable widget movement
This action allows the dashboard to be put into “move widgets” mode.
Each widget on the dashboard is then reduced to a simple display, and can be dragged and dropped to be repositioned in the dashboard.
Click the “Finish” button to exit the “move widgets” mode.
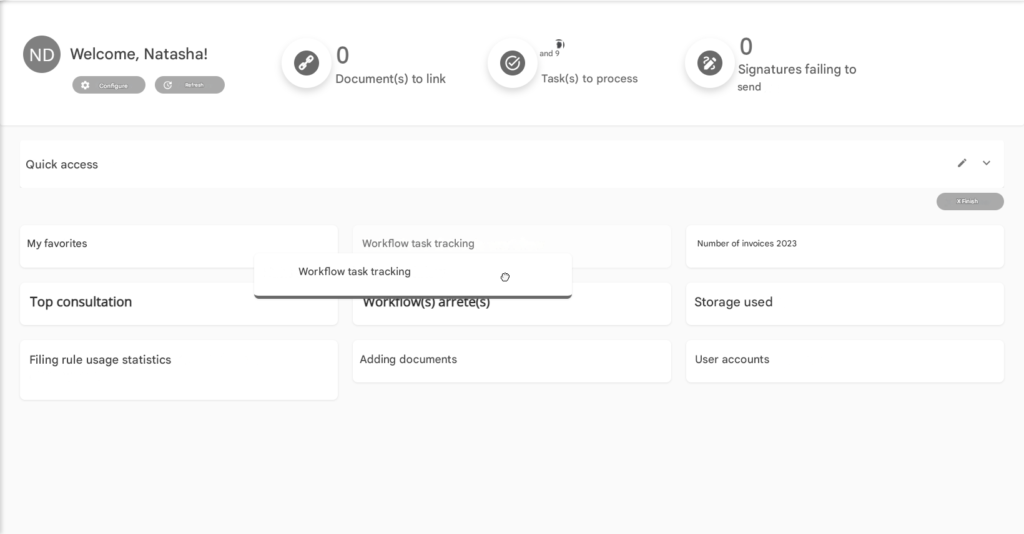
Quick access
Quick access is a shortcut to specific features in your document space. They are fully configurable.

The block containing your quick hits is displayed above your widgets. You can set it to the collapsed state using the arrow at the top right of the block.
The block is automatically hidden if you haven’t set up any quick access.
Click on a quick access to go to the corresponding screen.
Configuring Quick Access
Configuring quick access can be accessed in two ways:
- Using the button
 at the top right of the block
 - Using the “Manage Quick Access” action in the banner configuration
These actions open the Quick Access Setup screen:
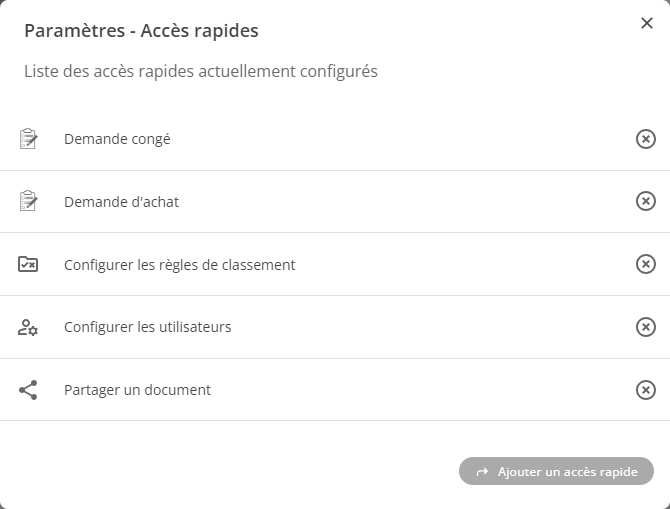
This screen allows you to view your configured Quick Access, delete them, or add a new Quick Access.
Click on the “Add Quick Access” action to open the add window:
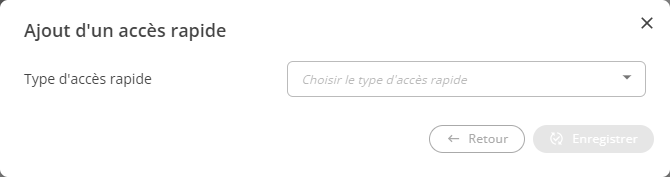
Here is the list of the types of quick access available:
- Fill out a form: Redirects to the completion screen of the corresponding form. Choosing this type of quick access displays a second field in which you will have to choose the targeted form.
 Only forms on which you have completion rights can be chosen.
- Configure Ranking Rules : Redirects to the Ranking Rules Configuration screen. The “Ranking Rules” role permission is required to use this quick access.
- Configure Users : Redirects to the user setup screen. The “Users” role permission is required to use this quick access.
- View sent emails : Redirects to the screen for viewing and tracking sent emails from the document area. The “Emails” role permission is required to use this quick access.
- Create Workflow on the Fly : Opens the wizard for creating a workflow on the fly from a document. The “Workflows” role permission is required to use this quick access.
- Share Document : Opens the document and folder sharing screen. The “Sharing” role permission is required to use this quick access.