Summary
How multi-selection works
In the list of search results, you can initiate multi-selection mode by selecting an item:
- By clicking on the checkbox of a result row
- By clicking directly on the result line to select it
You can also select all the elements on the page by clicking the checkbox in the results header:
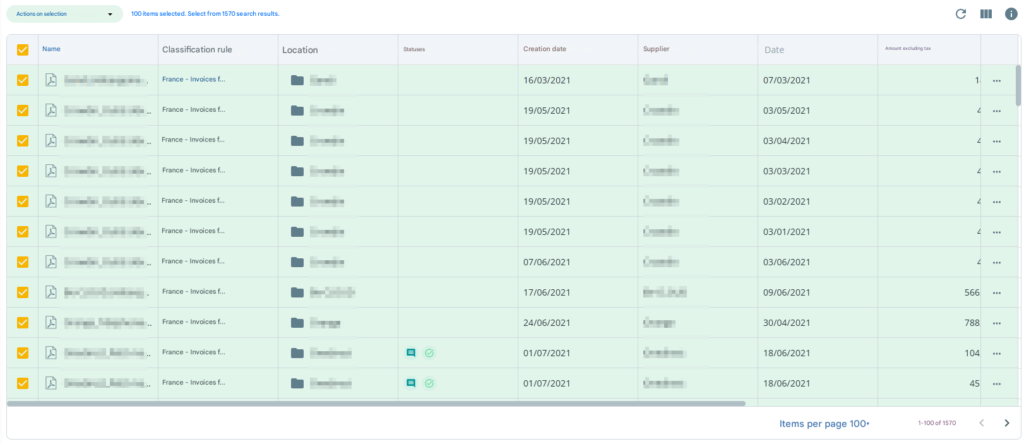
Once the multi-selection mode is enabled, you can navigate from page to page and check the elements you want to add to the selection.
An xxx selected items indicator is present to indicate the number of currently selected items.
You have the option to extend the selection to all search results by clicking on the Select xxx search results text button.
The text then changes to let you know that all search results are selected:

Actions on Selection
When you have finished selecting items, the Actions on Selection button allows you to perform an action from the following list:
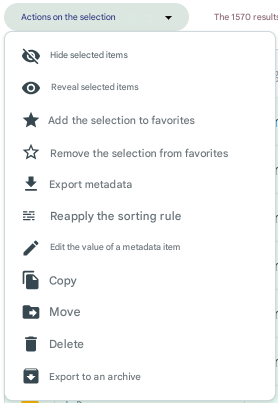
Please note that actions on the selection are processed in the background. When the action is triggered, an initial notification tells you that the processing is in progress:

When the action is finished processing, a notification informs you of the success of the action:

Important : When you initiate an action on a large number of items, it may take a little longer to process. This is a normal behavior related to the volume to be processed. During this time, you can continue to use the app as normal: the action will continue in the background and the results will appear as soon as it is finished.
Limitation : For performance reasons related to processing very large volumes, it is not possible to perform actions on more than 10,000 items at a time. This limit ensures the stability and speed of the application. If your selection exceeds this threshold, we recommend that you split the transaction into multiple actions.
Revealing the elements
This action reveals the selected items. You must validate the action via the confirmation window:
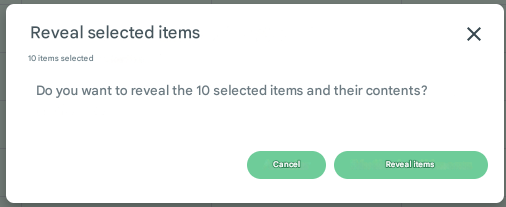
Note : This action will have no effect on the items already revealed.
Hide Items
This action hides the selected items. You must validate the action via the confirmation window:
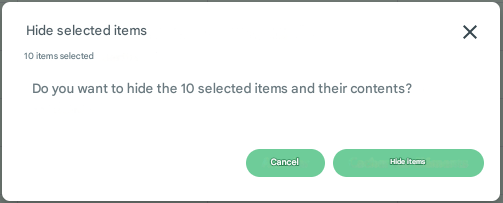
Note : This action will have no effect on items that are already hidden.
Add items to favorites
This action allows you to add the selected items to your favorites.
Note : This action will have no effect on items already in your favorites.
Remove items from favorites
This action removes the selected items from your favorites.
Note : this action will have no effect on items that are already missing from your favorites.
Copy Items
This action copies the selected items to the folder of your choice.
When selecting the action, a destination folder selection window opens:
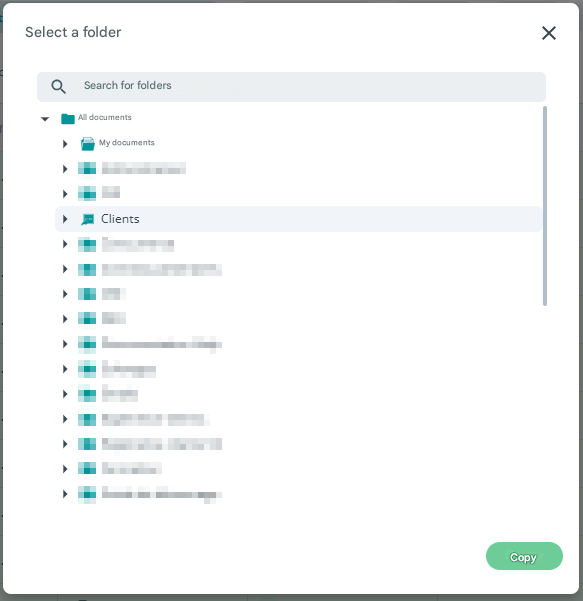
Choose a folder and click Copy to start copying the items in the background.
Move Items
This action moves the selected items to the folder of your choice.
When selecting the action, a destination folder selection window opens:
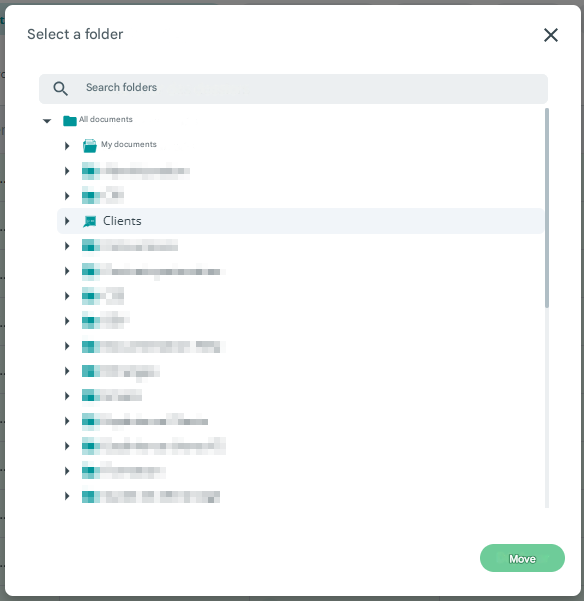
Choose a folder and click Move to start moving the items in the background.
Delete Items
This action deletes the selected items.
There are two possible deletion modes:
- Simple deletion: Deleted items will be moved to the trash and can be restored later.
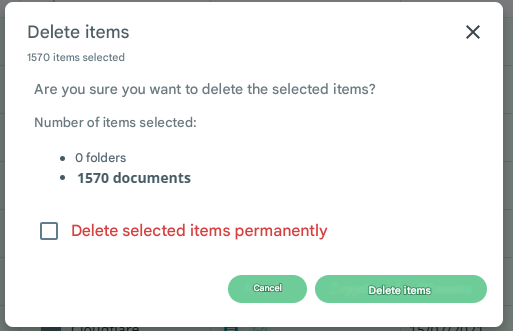
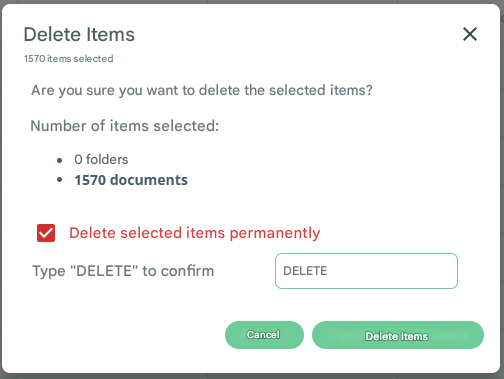
- Permanent deletion: Items will be permanently deleted and cannot be restored later.
This mode will ask you for additional confirmation, in which you will need to enter the word ” DESTROY ” to confirm.
Export items to an archive
This action exports the selected items to a .zip archive.
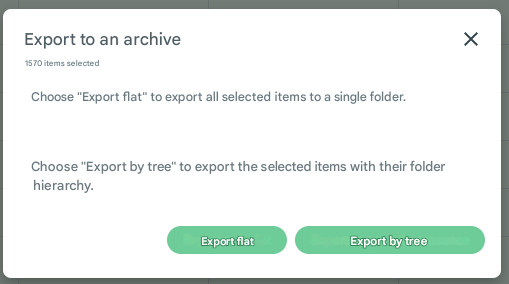
Two export modes are possible:
- Export Flat: This mode exports the selected items regardless of the tree view. All documents and folders are exported at the same level in the final archive.
- Export Tree: This mode exports items according to the tree in the final archive.
For example, if a document is in the \All Documents\Invoices\Customers\tree view, then this tree will be kept in the final archive.
Important : Exporting to an archive is a more cumbersome operation that can take some time. For this reason, this operation is limited to a total selection size of up to 4 GB.
Export asset metadata
This action exports the metadata of the selected items to a CSV file. Each column corresponds to a metadata, and each row corresponds to a selected item.
In addition to the metadata, the export also includes (in dedicated columns): the extension, name, path and creation date of the item.
Note : This action is only available when the Rank Rule criterion is populated.
When the operation is complete, a notification will prompt you to download the generated file:

Edit item metadata
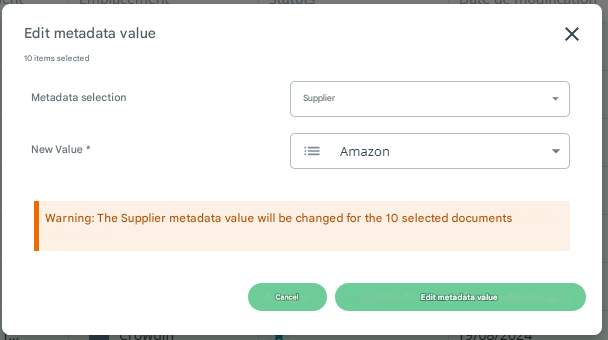
This action allows you to edit a specific metadata for all selected items.
All selected items will have their metadata set to the chosen value, regardless of the previous value.
When you click on the action, a window will prompt you to choose the targeted metadata and its new value:
Note : This action is only available when the Rank Rule criterion is populated.
Reapply the ranking rule on items
This action reapplies the collation rule to the selected items.
Reapplying the collation rule recalculates the collation path and renaming of documents based on new metadata values that would have been entered.
You can also use this action if the rule itself has been changed (for example, if you have changed the rule for calculating the collation path).
Note : This action is only available when the Rank Rule criterion is populated.