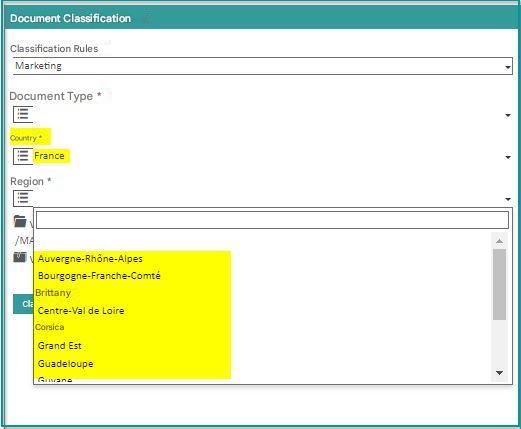
The lists associated with the Open Bee™ Portal metadata can be edited directly from the classification rules administration.
A second way to edit these lists is available in the “Administration” “Lists” section.
This section allows you to define nested lists that can then be used in the definition of metadata.
Simple Lists
The right side of the screen displays all the available lists.
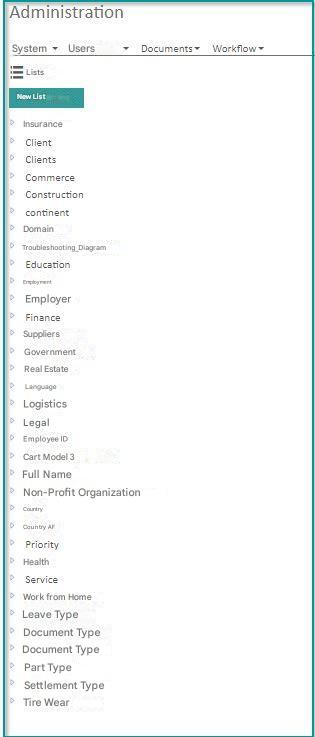
To view or edit a list, click on its name.
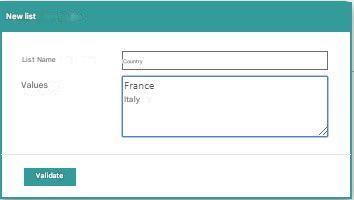
To add a new list, click on the “New List” button. You will be asked for the name of the list and a list of values. Enter one value per row.
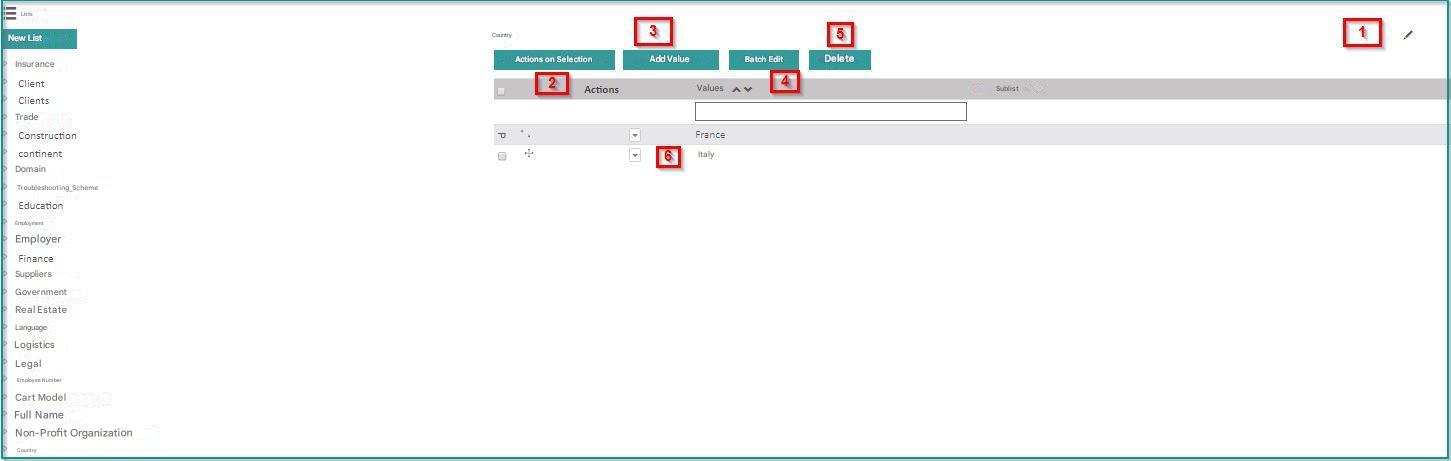
Once created, the list can be viewed in the central part of the application.
Different actions are possible on the selected list:
- The pencil to rename the list
- The selectboxes and the “Actions on Selection” button allow you to remove items from the list in bulk
- The “Add Value” button allows you to enter a new value to add to the list
- The “Edit in batch” button allows you to edit all the values of the list in the same text field (one value per line, as when creating the list)
- The “Delete” button deletes the list and all these values
- The context menu associated with the values of the list allows: to modify this value, to delete it and to associate a sublist with the value (see the section dedicated to sublists for more details on the subject)
Sublists
Before creating and using sublists, it is important to know the following:
- A list is defined by a name and composed of different values. Example: the list named “Country” contains the values “France” and “Germany”
- A sublist is a list attached to one and only one value in another list. Example: the list named “Region of France” is attached to the value “France” of the list “Country”.
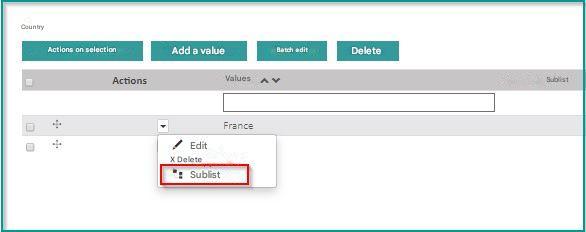
To create a sublist, use the context menu on the value of a list and choose the “Sublist” entry.
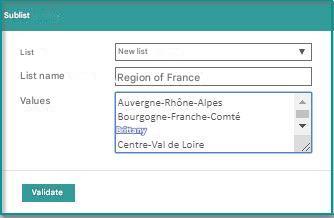
A window allows you to define a new list or choose an existing list that will be attached to the value of the parent list.
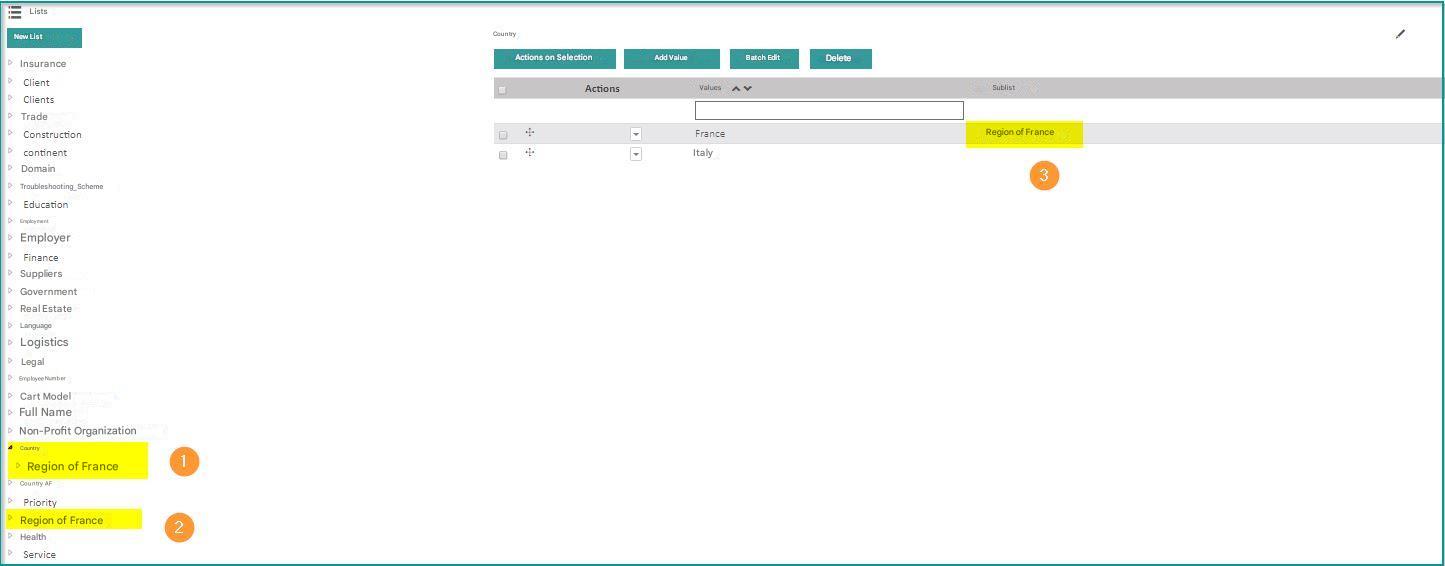
Once validated, the sublist is visible in three places:
- In the tree, as a sublist of the “Country” list
- In the tree as a simple list (a sublist is still a list first and foremost)
- In the detail of the “Country” list, associated with the value “France”
Once the sublists have been defined, the metadata remains to be defined
In the “Administration / Filing Rules” section:
- Create a “List” metadata with the parent list (“Country” in our example)
- Create a metadata of type “Sublist” and choose “Country” as the Parent metadata.
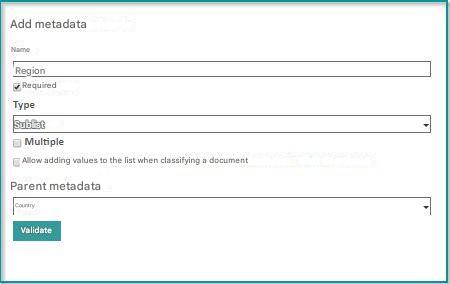
This relationship between the parent metadata will allow the system to propose the sublist “Region of France” for the metadata “Region” when the user has selected “France” in the metadata “Country”.